overview
Oyaki is one of the best snacks to use leftovers with. You can stuff it with practically anything, making it either sweet or savory. While it may seem obvious, living in California (or in the United States for that matter) gives us different ingredients than Japan. But also things that we think are similar can be completely different. This is why it’s important to understand who is writing the recipes you’re following and where they are coming from before giving a recipe a bad review because simple things like a tomato in Italy can be extremely different than one from California, even if they have the same name… can just go over our head and we would never think they’d be different. So that understanding of location and how it ties into flavor can make you a better cook in the kitchen and allow you to create or elevate your dishes more freely.
You’re probably wondering why I (Carl) went on that little rant about ingredient location but this is how it ties into our Oyaki experiment. The first time we made this, we followed a Japanese recipe and it came out much dryer and the textures just didn’t seem to line up to their description of the finished product. So we had to improvise on the fly (which we usually do quite successfully until this dish). The Japanese recipe called for all purpose flour and thinking well AP flour is the same all around isn’t it? NOPE! Japanese AP Flour or chuurikiko is different from AP Flour here in the US of A. If any of you have been getting into baking breads and things during these corona virus times or if you are a pastry chef then you know that protein content in flours is a very big thing! American AP four (we use King Arthur brand) has an 11.7% protein content and Japanese AP or chuurikiko sits at about 9%, quite a big difference there and that is likely why ours came out much tougher and was a little hard to work with. The closest thing we have to chuurikiko is American pastry flour which sits at around the same protein content. The thing is, it’s really hard to find flours nowadays since quarantine has everyone baking and you just cannot find any flour on the shelves, but toilet paper has finally been in stock!
We’ll just call our latest Oyaki experiment “test 2”. We are testing one batch with AP flour and another batch with cake flour which sits at around an 8% protein content (it’s the only thing we could find at this time). Just to let you know which we one we liked so you can make it yourselves: American AP flour.
Materials
- Bowl Scraper
- Mixing Bowl
- Non-stick Pan for cooking filling, if needed
- Chopsticks/Whisk
Ingredients
- 200g All Purpose Flour (11.7% protein content), plus extra for adjusting and dusting**
- Healthy Pinch of Kosher Salt
- 150 mL Water
- 1 Tbsp Sesame oil
- Filling: leftovers, certain meats, or red bean paste
- 4 Tbsp Vegetable Oil for an easier filling process
**For the Cake flour experiment simply substitute with the same amount of Cake flour.
Guide
- Place flour into bowl and mix well with salt.
- Separately, combine Sesame oil and water. Pour this mixture into your dry ingredients one third at a time.
- Pro Tip: Mixing wet and dry in 3 phases makes combining a lot easier, but if you like a workout then go ahead!
- When all the wet is in the dry and starts to take shape, use your hands to give it a quick knead and tuck into a ball.
- Pro Tip: If the dough is too wet to work with, slowly add flour until it is workable.
- Pro Tip: The easiest way to get wet dough off your hands is to rub dry flour on them until the dough comes off.
- Cover and set it aside to rest for at least 30 minutes, the longer you let it rest the easier it is to work with when filling.
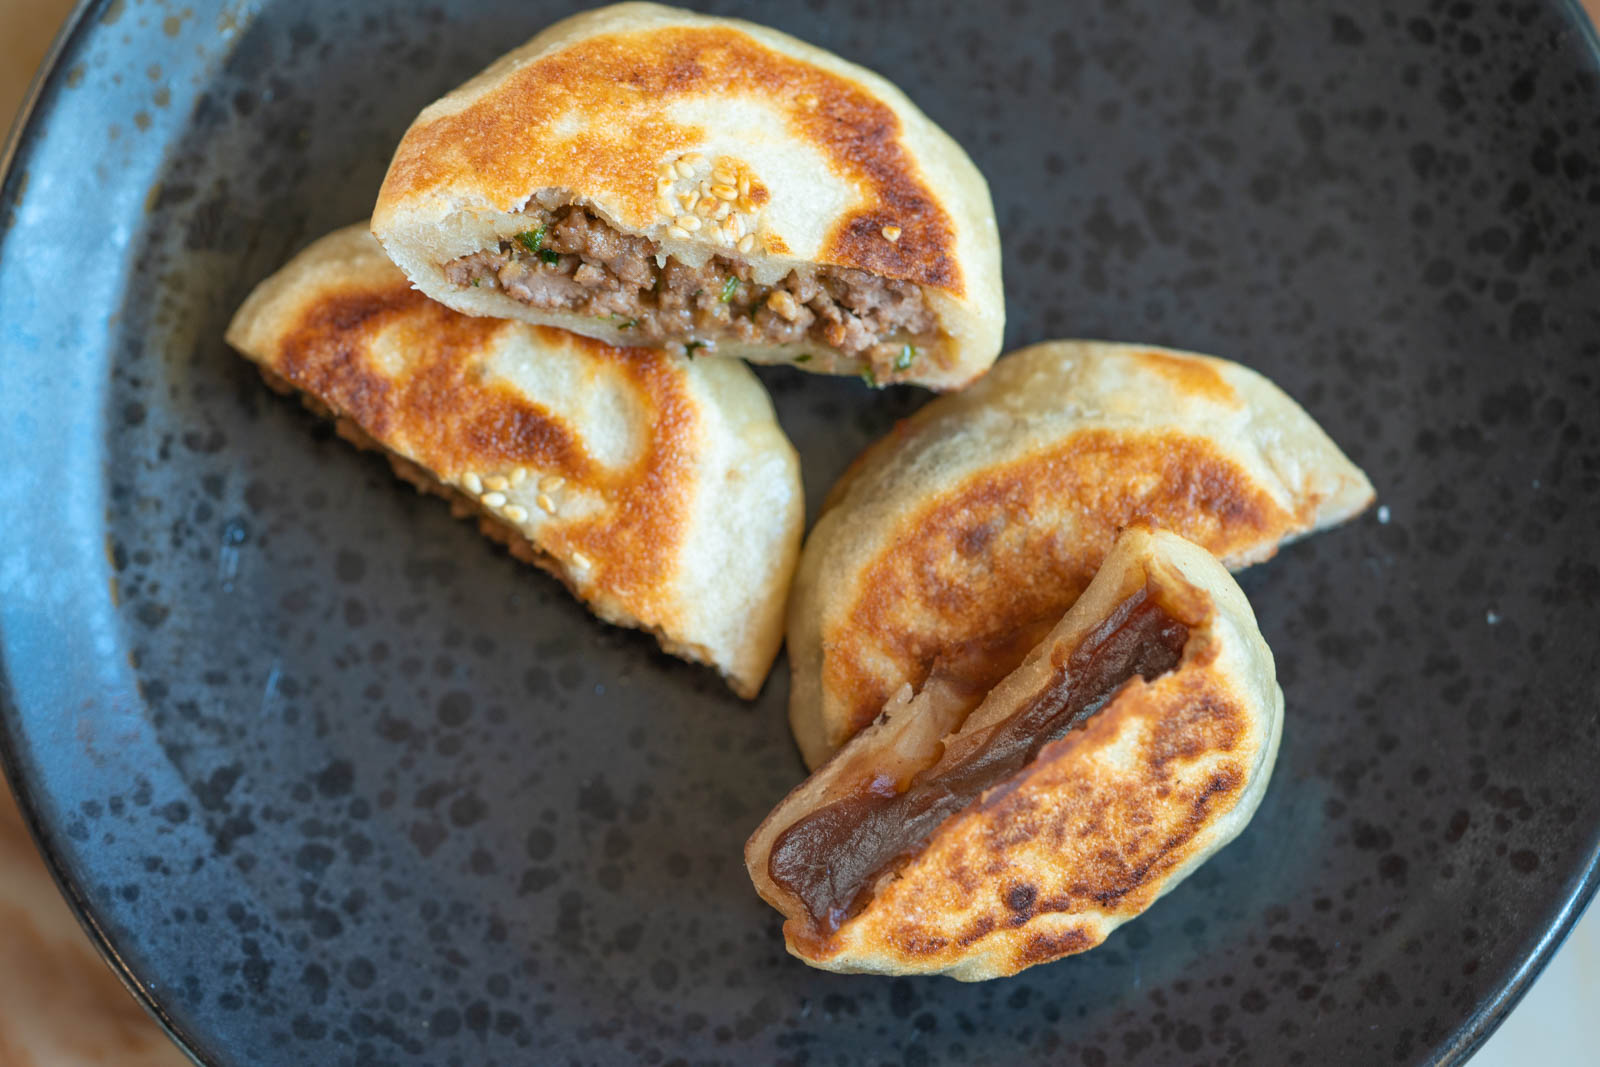
- Take this time to cook your fillings if needed or prepare them (cut and mix with other ingredients and so forth). For this recipe we will be using a can of red bean paste.
- When your dough is done resting, take it out on a flour dusted work table and roll into a log about 12 inches long.
- Divide into 6 pieces and shape them into small dough balls.
- Coat hands in oil so it’s easy to work with dough and filling and get your cooking pan coated with some oil as well.
- Flatten dough ball in your palm to about 1/8 of an inch and take a spoonful or two of red bean paste to the center of the flattened dough.
- Pro Tip: You don’t have to super flatten the dough as you will be stretching it around the filling, so too thin may result in tears!
- Let gravity do most of the work: cup your hands around the edges and allow the center of the dough to droop between your hands. As it sinks, guide the dough up, around and over until it covers the red bean filling.
- Pro Tip: I prefer making a C shape with my pointer finger and thumb and just rock the ball back and forth until I can close the oyaki.
- Pinch edges closed, then gently flatten (don’t smush it!!), place it on your oiled pan and continue to fill and shape the others.
- Cook on medium heat with a lid until the bottom is nicely browned then flip. This allows it to steam a bit.
- After flipping pour about 1/8 cup of water into the pan and cover for final steaming until all the water is gone.
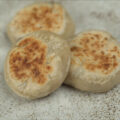
- Let cool just enough that you can touch it and enjoy while fresh!
Try it with:
Savory Ideas: Ground beef and cheddar for cheeseburger oyaki, ham and cheese and corn, tuna salad filling, bbq shredded chicken, leftover take-out proteins.
Final Thoughts on Test 2
This recipe will always be evolving until we get the right texture we are looking for or similar to those in Japan. Our next experiment will consist of pastry flour if we can find it or we can make a pastry flour by combining 50/50 cake and AP. Hope you enjoyed our experiment! Let us know if you try it out and if you have any suggestions to get these a bit fluffier!
Check out our next Oyaki Experiment Part 2 here.
Tools Used To Make This Dish*
- Duxtop Portable Induction Cooktop
- Cutting Board: Boos Block Edge Grain
- Cuisinart Stainless Steel Pans
- Half Size Hotel Pan
Camera Gear List*
- Sony A7III
- Sony A7rIII
- Sony SEL2470GM Lens
- Sony SEL90M28G FE 90mm f/2.8-22
- Deity V-Mic D3
- Audio-Technica AT4040 Cardioid Condenser Microphone
- Blue Compass Premium Tube-Style Broadcast Boom Arm
- Sirui ET Series Tripod
- White Balance Card
*I am a participant in the Amazon Services LLC Associates Program, an affiliate advertising program designed to provide a means for us to earn fees by linking to to Amazon.com and affiliated sites.