
overview
Making Legit Mochi from Rice – not Rice Flour
We’ve made it to Part 4 of our Mochi Making Journey! If you’re just joining us, feel free to catch up with Part 1 here where we tried a standard mochi recipe via steaming. We tried cooking directly over the stove in Part 2 and got some super soft mochi, but we were missing the chew. In Part 3 we got our hands on the special shiratamako rice flour which definitely made a difference. However, we learned that since we were using rice flour, we were technically making dango, not mochi.
As with many Japanese things, there are distinctions for the most subtle and minute detail. Mochi is a rice cake made from glutinous rice that is pounded. Dango are rice balls made from rice flour. Fun fact: dango came to Japan from China! Either of these are flavored and/or colored with additional ingredients or coated or filled like with the red bean paste filling. A filled mochi is then called Daifuku. This should also not be confused with manju, which is similar to mochi but the main ingredient is flour or buckwheat flour, instead of rice.
So today we are attempting to make legit mochi using rice. We’ll be testing a half recipe from one of our favorite Japanese cuisine resources, Just One Cookbook, and using a KitchenAid stand mixer to do the pounding for us. Let’s go!
Real Mochi Recipe
Adapted from https://www.justonecookbook.com/how-to-make-mochi-with-a-stand-mixer/
Total Cook Time: About 2 hours, Makes around 15 pieces
Have everything set up and ready to go, there are slow lulls during preparation but once the rice is cooked and the mochi is made, you will need to move quickly.
Materials
- KitchenAid Stand Mixer, Paddle and Dough Hook
- Spatula
- Spoon
- Cupcake liners (optional)
Ingredients
- 225 G sweet rice/glutinous rice (1.5 C of rice)
- 200 ml water
- potato starch/cornstarch (for dusting)
- red bean paste (for Daifuku mochi)
How to Make Mochi Guide
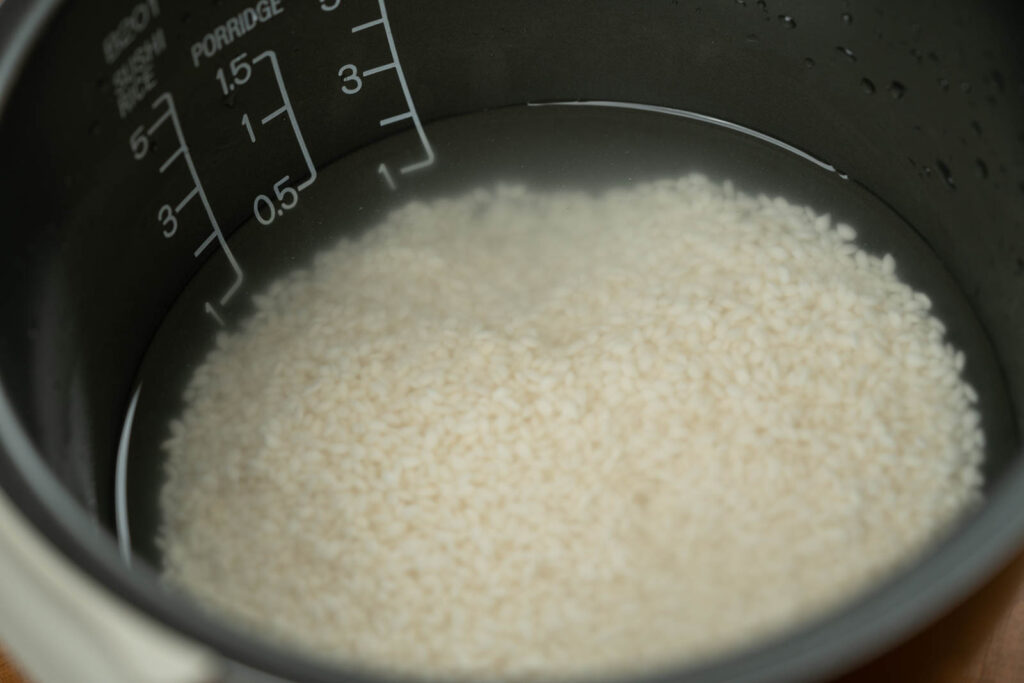
- Wash rice until the water runs clear.
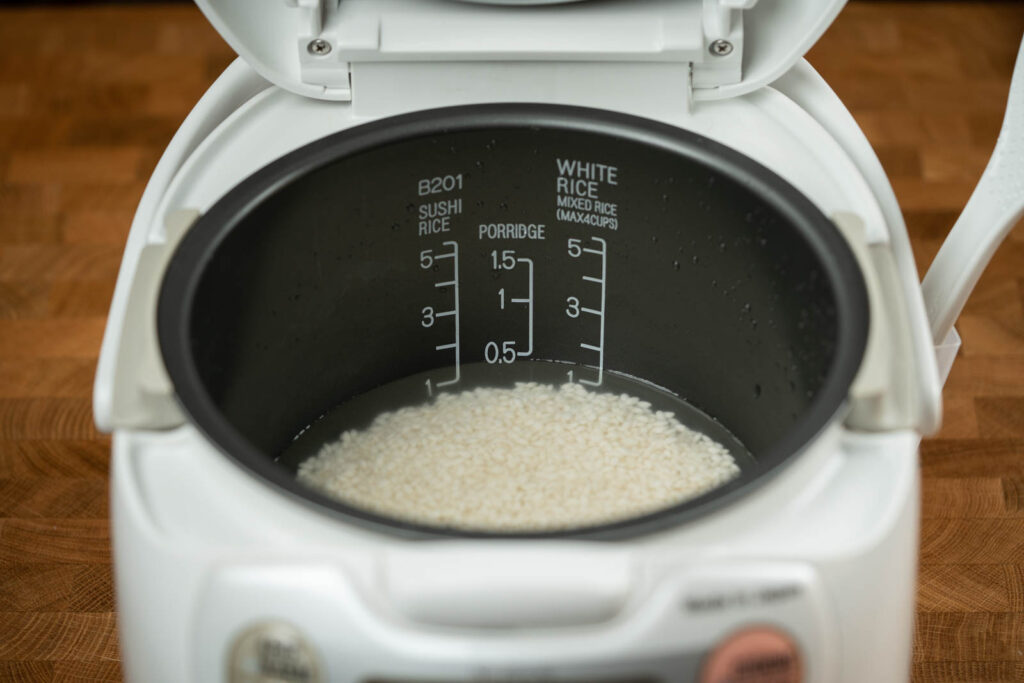
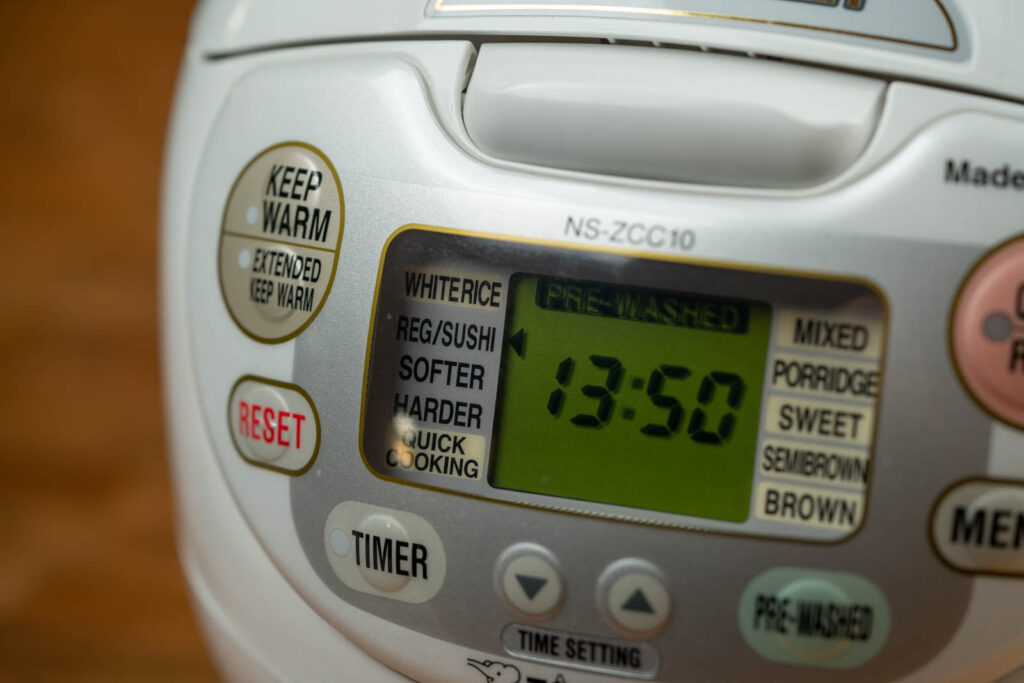
- Place washed and drained rice into rice cooker. Add water and make sure rice settles evenly. Cook on the Regular White Rice setting (which has a longer cook time than Sweet Rice).
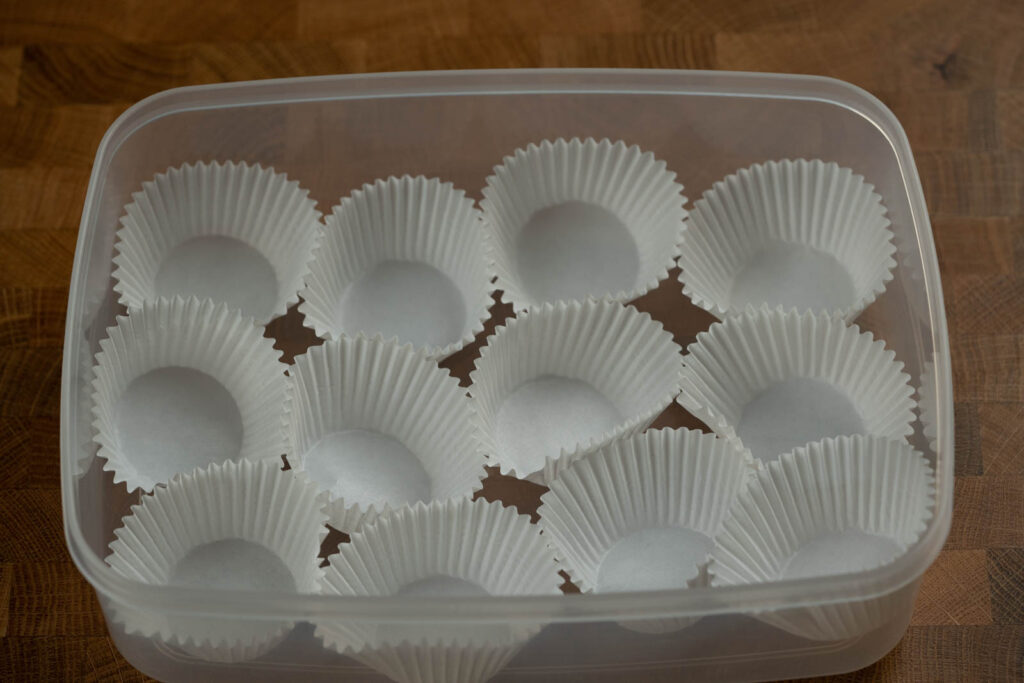
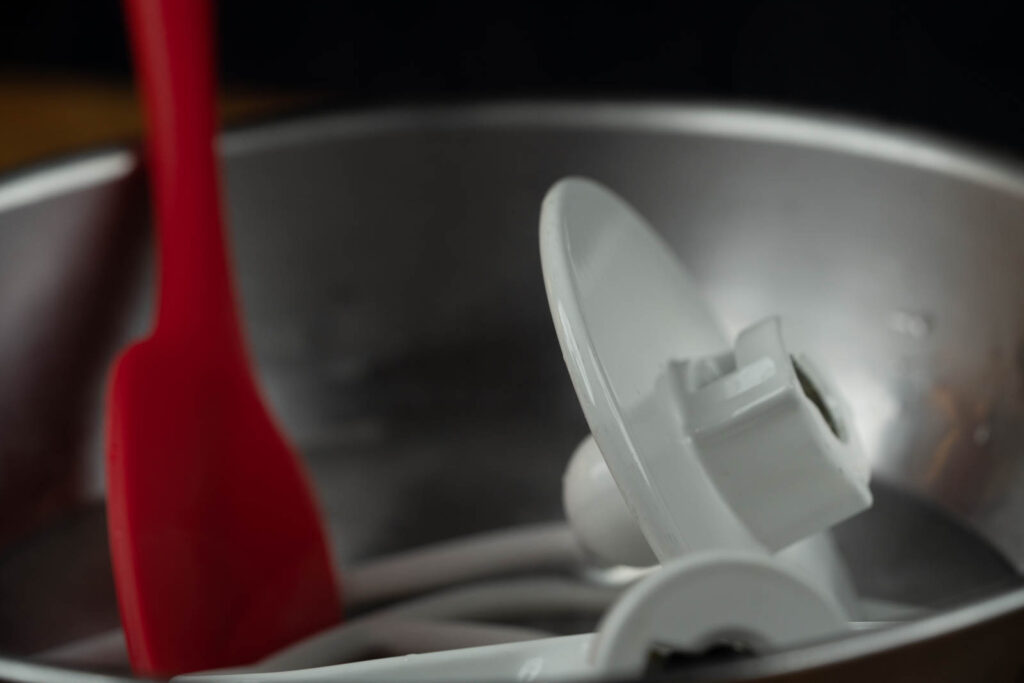
- Use this time to prepare everything else. Place your KitchenAid dough hook, paddle, and spatula in hot water and also pour some hot water into the mixing bowl to get everything warm. Starch a large work surface and have plenty of extra starch readily available. Prep your red bean filling. Ready your cupcake liners or whatever you choose to keep your finished mochi in. Set your timer for 6 minutes.
- Once the rice is cooked, immediately toss out the hot water from the mixing bowl and place cooked rice into it. Attach your dough hook to the stand mixer and turn to Number 2 Speed. Start timer for 6 minutes. Occasionally scrape down the rice with a wet spatula as needed. You can pause the mixing if necessary.
- After 6 minutes. Turn off mixer and scrape down the rice, mix well, flipping over the rice. Start timer again for 6 minutes and turn on the mixer to Number 2 Speed, scraping down the rice occasionally.
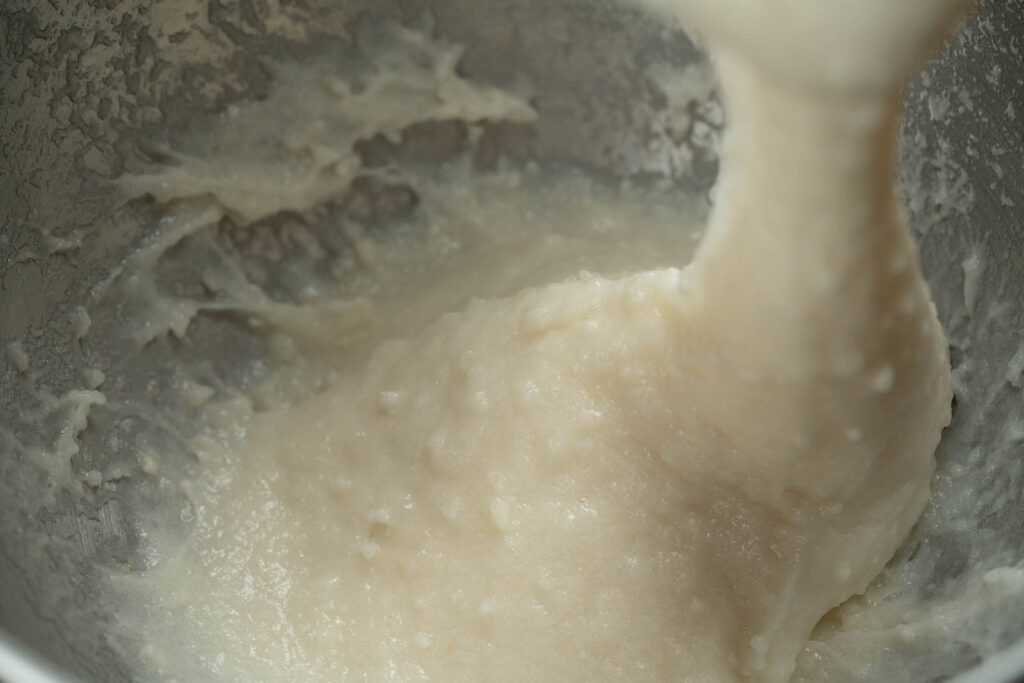
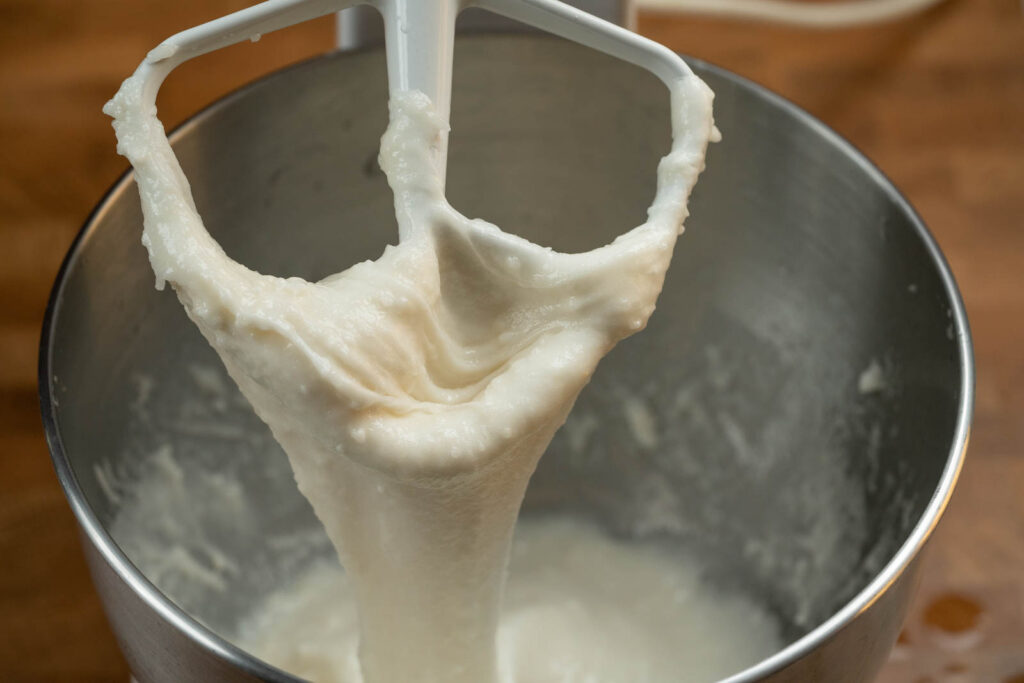
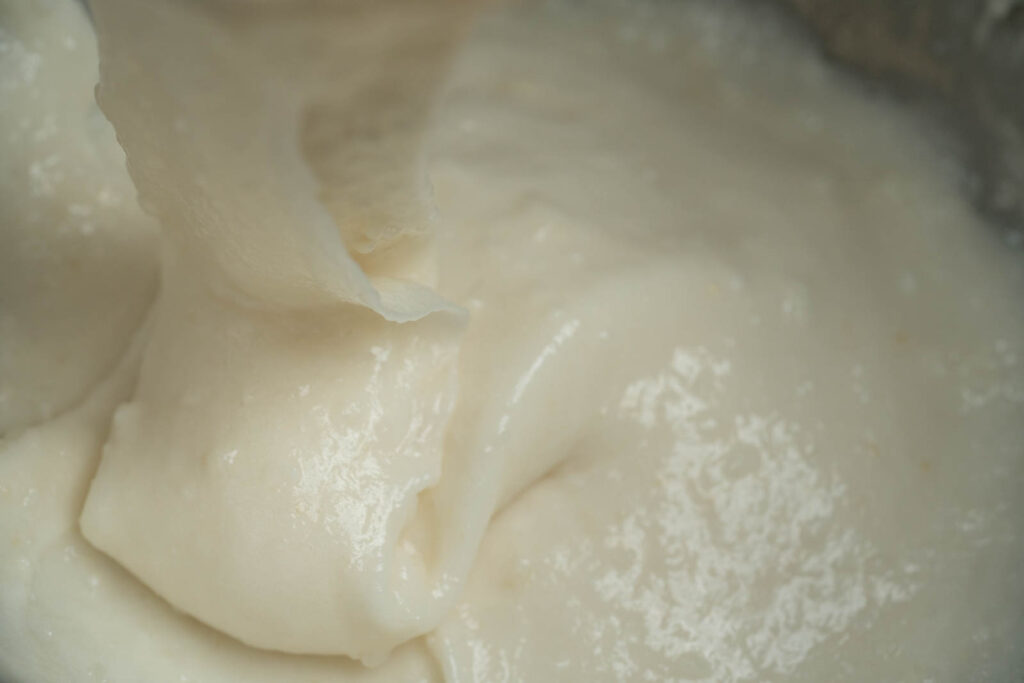
- After 12 minutes of “kneading”, the rice should be quite sticky and elastic. Scrape down the bowl and flip the rice over again. Swap out the dough hook for the paddle. Set your timer to 30 seconds, we’ll repeat this process 4 times total.
- “Beat” the rice at Number 3 Speed for 30 seconds at a time, scraping down the sides after each interval. After 2 minutes of pounding, it is ready to shape.
- Scrape mochi onto starched surface. With dry hands, starch the top of the mochi and your hands (a lot).
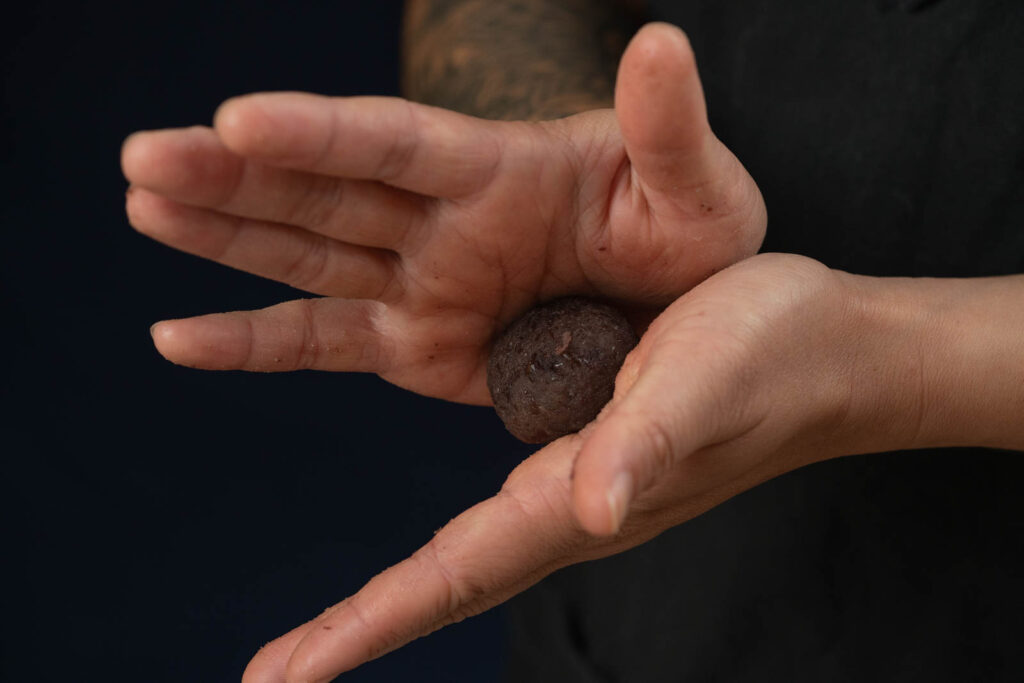
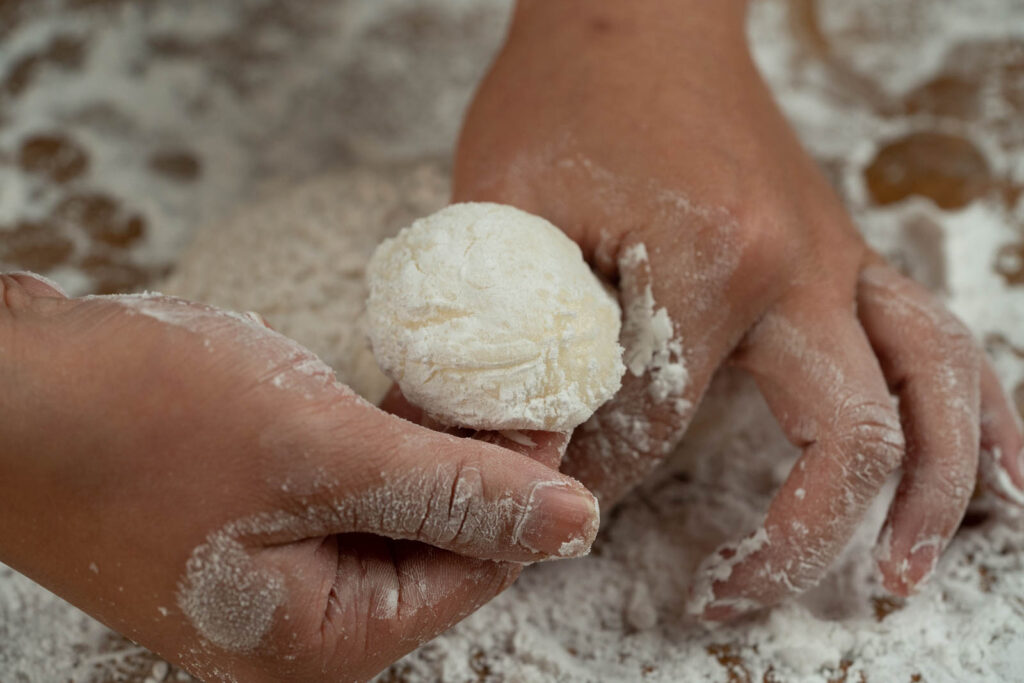
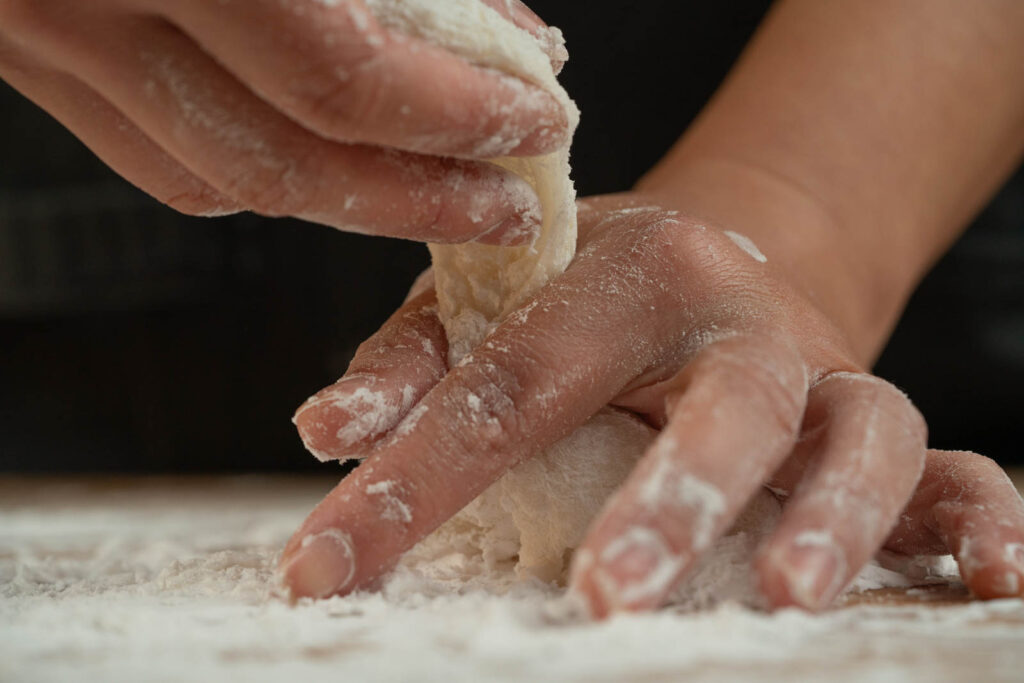
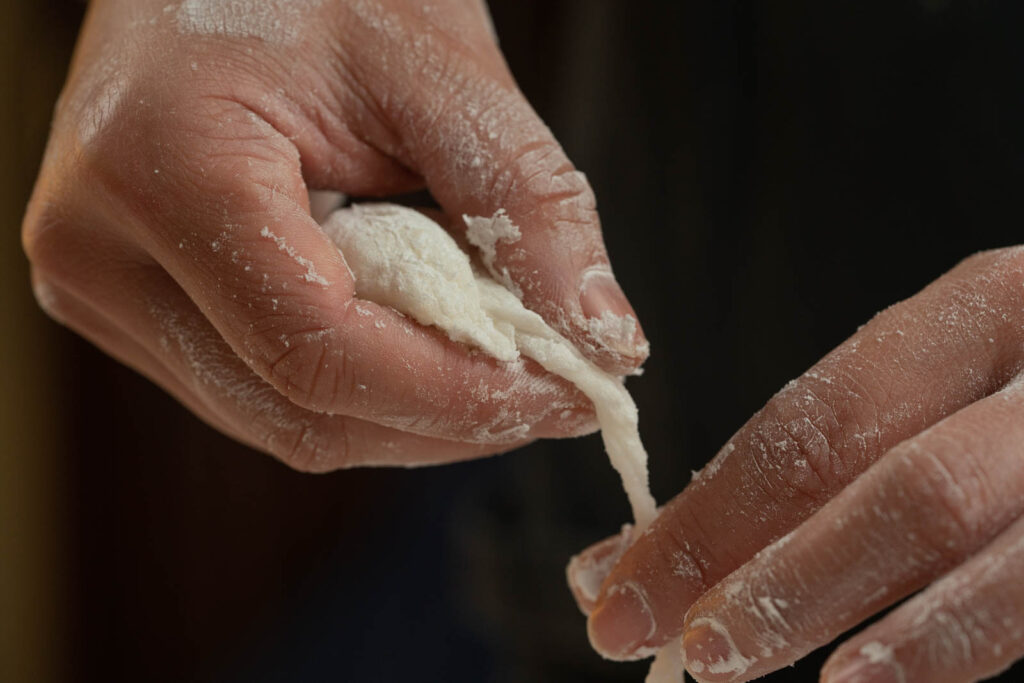
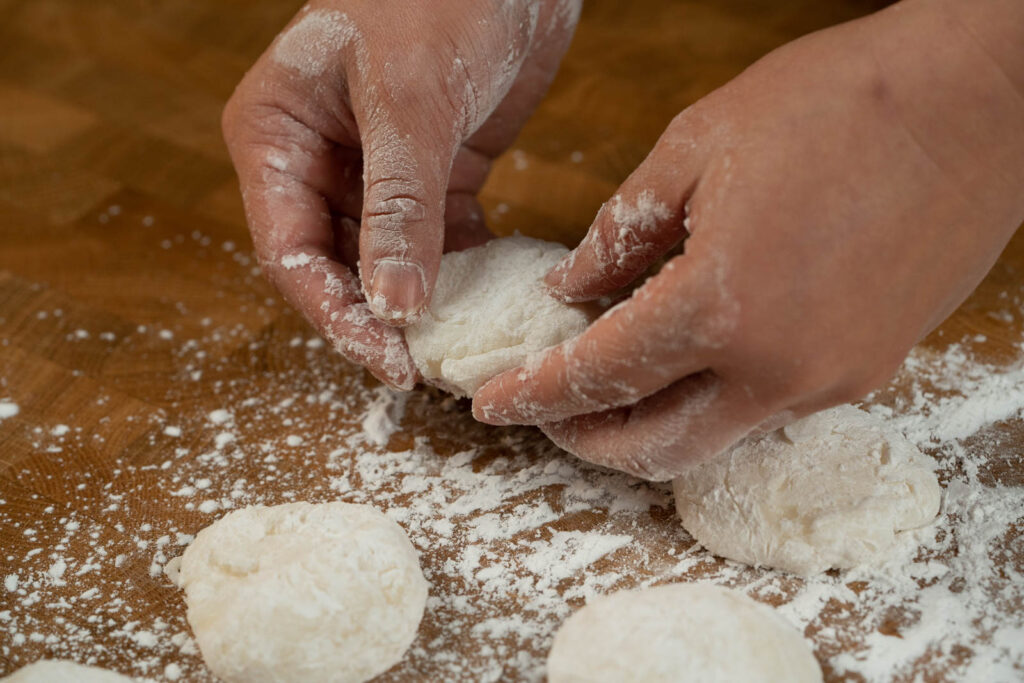
- Pick up one corner of the mochi with your dominant hand and make a C shape with your other hand above this corner of mochi. Push the mochi up through the C fingers until it creates a ball, then twist your hands in opposite directions to pinch and cut the mochi ball separate from the rest of the dough. Try not to pull, as pulling creates more sticky surface area, which makes it difficult to work it. Set mochi to the side on the starched surface.
- Continue shaping mochi balls with the rest of the dough.
- When finished with dividing the mochi, you can begin dusting or filling them.
- For Daifuku mochi: place a ball of red bean in the center of a mochi piece and gather and pinch the edges together over the red bean.
- Storage: You can individually wrap mochi pieces and freeze it for later use. Daifuku mochi will last a day or so but is best consumed immediately.

washing rice (start) washing rice (end) Add 200 ml water to drained rice Cook rice on “Regular White Rice” setting Set up cupcake liners Prescoop and roll red bean paste balls Warm up tools in hot water Put cooked rice in mixing bowl. “Knead” with dough hook on Speed 2 for a total of 12 minutes. Scrape down and flip throughout. Rice after 12 minutes of “kneading” “Beat” the rice with paddle on Speed 3/4, at 30 second intervals, 4 times. Scrape down and flip inbetween. Rice after 2 minutes of beating Pick up one corner of the mochi with your dominant hand and make a C shape with your other hand above this corner of mochi. Push the mochi up through the C fingers until it creates a ball. Using the other hand, pinch off the rest of the mochi. To detach, twist your hands in opposite directions to pinch and cut the mochi ball. Try not to pull, as pulling creates more sticky surface area, which makes it difficult to work it. Set mochi to the side on the starched surface. Place a ball of red bean in the center of a mochi piece. Gather and pinch the edges together over the red bean. Homemade Mochi (from rice)


Thoughts on Using the KitchenAid Stand Mixer to Make Mochi (Mochi Making Part 4)
With the KitchenAid, making legit mochi at home is not as difficult as I thought. This recipe doesn’t add any sugar to the rice though, so the mochi by itself is really plain (aka you can’t eat it just like that because it will taste like paste in your mouth). Also, we’re pretty sure sure the Benkyodo mochi has something else in it because the skin of their mochi does not taste like this. It’s also softer, so our theory is that they might be using some sugar to sweeten and soften their mochi.
So, what does this mean for us? It’s back to the kitchen to tweak this recipe and see if we can find the perfect ratio of rice, water and sugar. Check out our next mochi making attempt with the Tiger Mochi Machine.
Tools Used To Make This Dish*
You can support our creations at no additional cost to you by using our affiliate links below. Much love!
- Duxtop Portable Induction Cooktop
- Rice Cooker
- KitchenAid Stand Mixer
- Spatulas
- Cupcake Liners
- Taylor Timer
Camera Gear List*
- Sony A7III
- Sony A7rIII
- Sony SEL2470GM Lens
- Sony SEL90M28G FE 90mm f/2.8-22
- Deity V-Mic D3
- Audio-Technica AT4040 Cardioid Condenser Microphone
- Blue Compass Premium Tube-Style Broadcast Boom Arm
- Sirui ET Series Tripod
- White Balance Card
*I am a participant in the Amazon Services LLC Associates Program, an affiliate advertising program designed to provide a means for us to earn fees by linking to to Amazon.com and affiliated sites.


I have been following this mochi journey and can’t wait for part 5! I visited to the Bay Area a while ago and got a taste of fresh mochi and can’t stand the refrigerated stuff I have at the Asian grocers in my home state. Just not the same! Looking forward to your updates.
Hi LW, we’re so happy to have you along!! Perfect timing as part 5 comes out this Sunday! Yep the refrigerated ones just don’t have the same soft chewy bounce as fresh ones, hopefully we’ll have the perfect recipe for making mochi at home and you won’t have to miss out anymore (:
Hello, I don’t have a good rice cooker like you, I think I can take rice and soak it for 12 hours and then wrap it in cheese cloth and put it in my electric Steamer for 30-40 minutes and then do the same what you do in a kitchen aid mixer? What do you think? And I think I should put on the first level of steamer or upper?
Hi Aaron! Great question, you can absolutely steam cook your rice instead of using a rice cooker. I’m not sure how long you’d have to pre-soak the rice, and I don’t think the level of the steamer matters too much. But however you normally steam cook your rice, do that. Then right when the rice is done cooking, put it in the kitchen aid mixer.
If you have a blender, you can try this other method instead – instead of the microwave, you could also steam it to cook the mochi: https://adventuresofcarlienne.com/simplest-way-to-make-daifuku-mochi/
Let us know if how it goes and if you have any more questions!