overview
After testing a variety of mochi recipes: steaming mochiko flour, cooking mochiko over a stove, discovering shiratamako flour, using rice and a stand mixer, and finally testing the Tiger Mochi Maker machine; we have ultimately landed on the perfect, legit real mochi, recipe for those who have been dreaming of soft and chewy mochi at home. The beautiful thing about mochi, is the simplicity – it requires very little to make, but it can be a tad tricky. Make sure to read the recipe thoroughly before starting and check out our video too. Don’t be discouraged if it takes a few tries to get the hang of it, and feel free to experiment with the water and sugar levels to get it to your perfect texture.
Things to know before Making mochi from rice
First, there’s nothing wrong with using mochiko or shiratamako flour – these make really tasty daifuku mochi really easily. However, if you’re a true mochi connoisseur, one that is looking for the actual mochi-mochi (chewiness) in their mochi , then you’ll want to use actual rice grains. The process is a much more involved ordeal and you have to commit to it once you start because you want to work with the rice while it’s hot, but it’s worth it!
One of the bigger issues with using rice, quite literally, is that most recipes out there are all huge quantities – using a minimum of 3 to 5 cups of rice, which for something you have to eat in a day, is a bit much — and this is coming from a mochi lover herself. So one of the first things we tested is shrinking the recipes to a much more manageable size, like 1.5-2 cups of rice. Oh, keep in mind that when we say cups of rice, we’re talking about the rice cup cups, not the regular measuring cup cup.
The second issue with using rice grains was that it gets hard super fast, like sometimes in a couple of hours even. But it turns out that when we tried to shrink the recipes, the ratio of water didn’t quite scale down completely evenly and we had to use more water than expected. That way the rice would be thoroughly cooked, soft enough to mash and get smooth. If your mochi dough stays grainy or doesn’t look smooth, then chances are you need to use more water when cooking the rice.
To also help with the softness and to make it last at least a full day, we had to experiment with adding sugar during the kneading process. We started off with the suggested 50-100g of sugar per 100g of rice, but when we tried 100g of sugar for 225g of rice, the mochi dough melted and we couldn’t form any mochi at all. So we scaled back and finally found a workable amount, which we’ll get into, right now.
homemade daifuku Mochi Recipe
Adapted from https://www.justonecookbook.com/how-to-make-mochi-with-a-stand-mixer/
Total Cook Time: About 2 hours, Makes around 10-15 pieces
Have everything set up and ready to go, there are slow lulls during preparation but once the rice is cooked and the mochi is made, you will need to move quickly.
Materials
- Rice cooker
- KitchenAid Stand Mixer, Paddle and Dough Hook
- Spatula
- Plastic bench scraper (optional)
- Cupcake liners (optional)
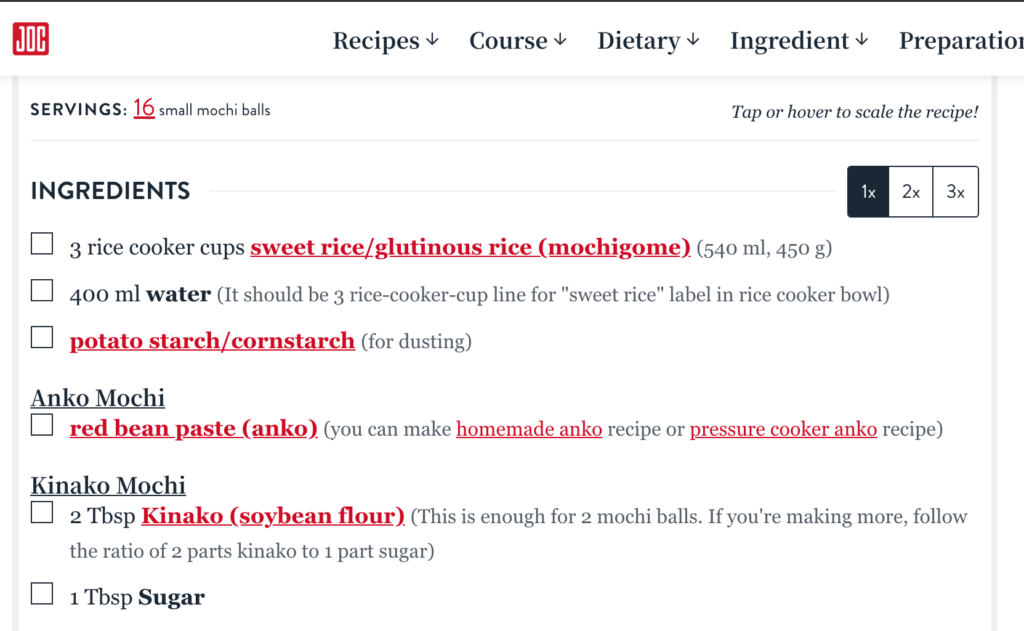
Ingredients
- 225G sweet rice/glutinous rice (1.5 rice cups), we used Koda Farms Sho-Chiku-Bai Sweet Rice
- 240ml water (fill to the line on your rice cooker bowl for 1.5 C of sweet rice)
- 50G white sugar
- potato starch/cornstarch (for dusting)
- any filling: red bean paste, white bean paste, etc
How to Make the Best Homemade Daifuku Mochi Guide
- Wash rice until the water runs clear.
- Place washed and drained rice into rice cooker. Add 240ml water and make sure rice settles evenly. Cook on the Regular White Rice setting (which has a longer cook time than Sweet Rice, roughly 30-40 minutes).
- Use this time to prepare everything else. Pre-scoop/ball your filling and place in the freezer. Freezing the filling allows you to stuff the mochi with more filling than you could normally, and it’s much easier to work with. Starch your work surface. Ready your cupcake liners or whatever you choose to keep your finished mochi in. About 5 minutes before the rice is ready, place your dough hook, paddle, and spatula in the KitchenAid bowl with some hot water to get everything warm.
- Once the rice is cooked, pour the hot water from the mixing bowl into a large cup/container that can hold your paddle and spatula. Place cooked rice into the mixing bowl.
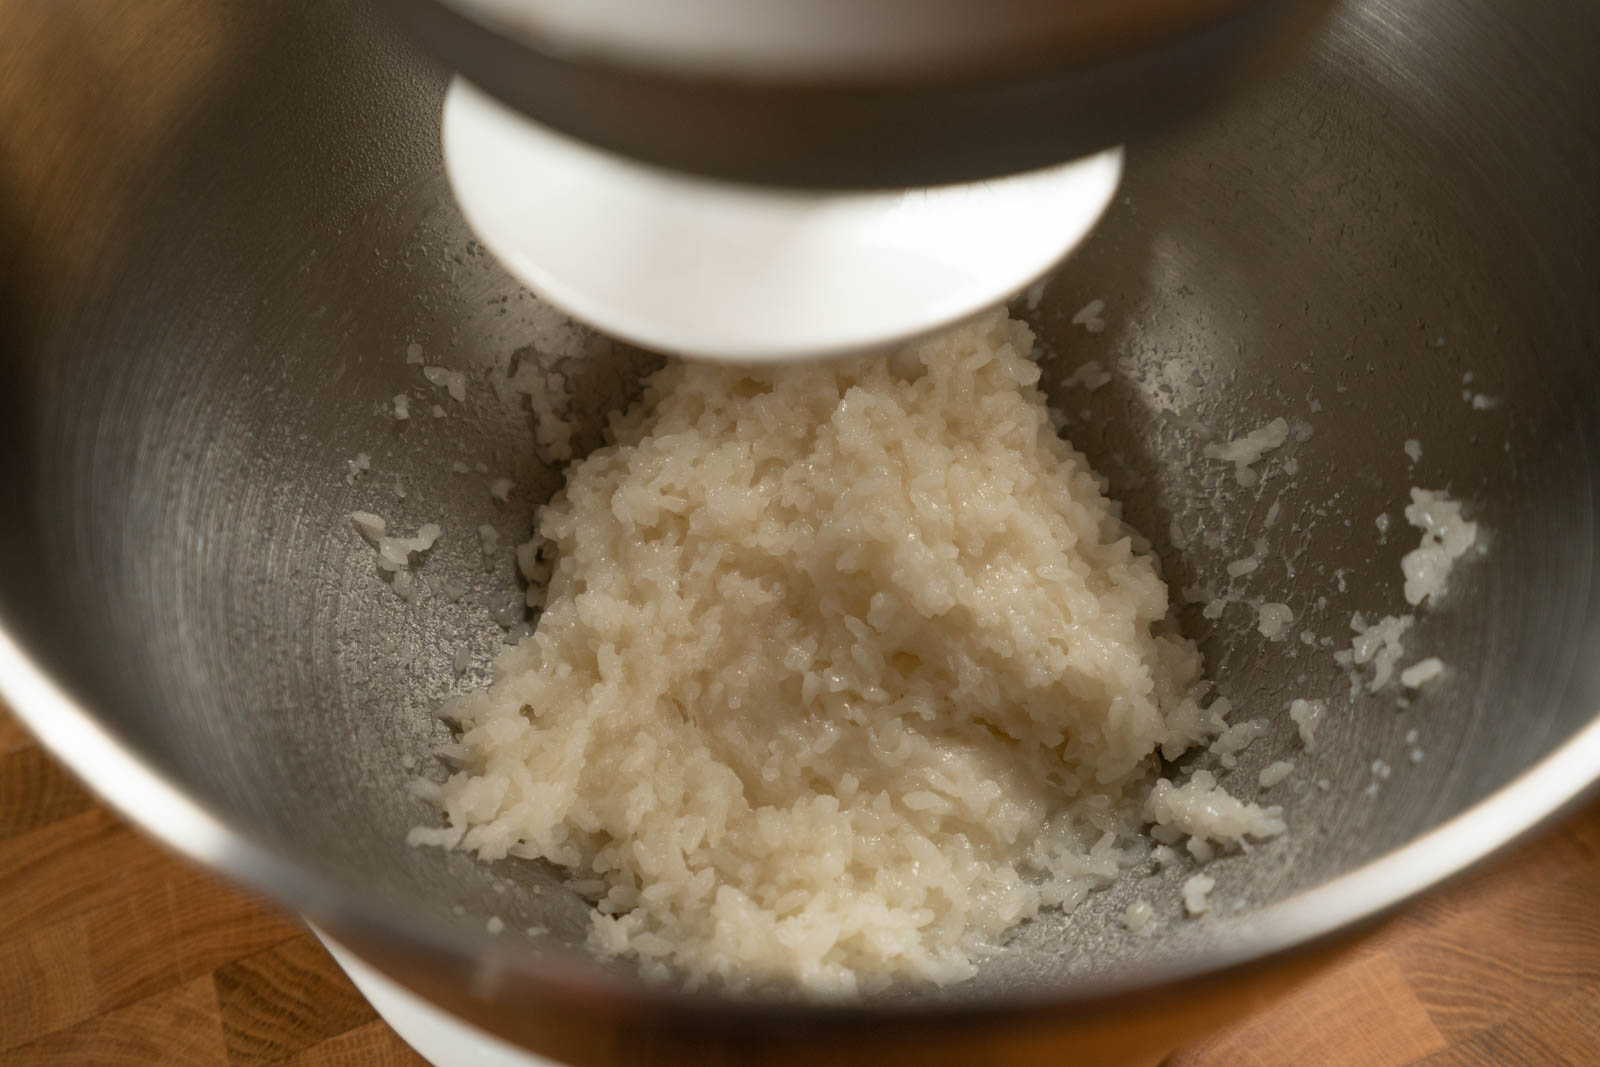
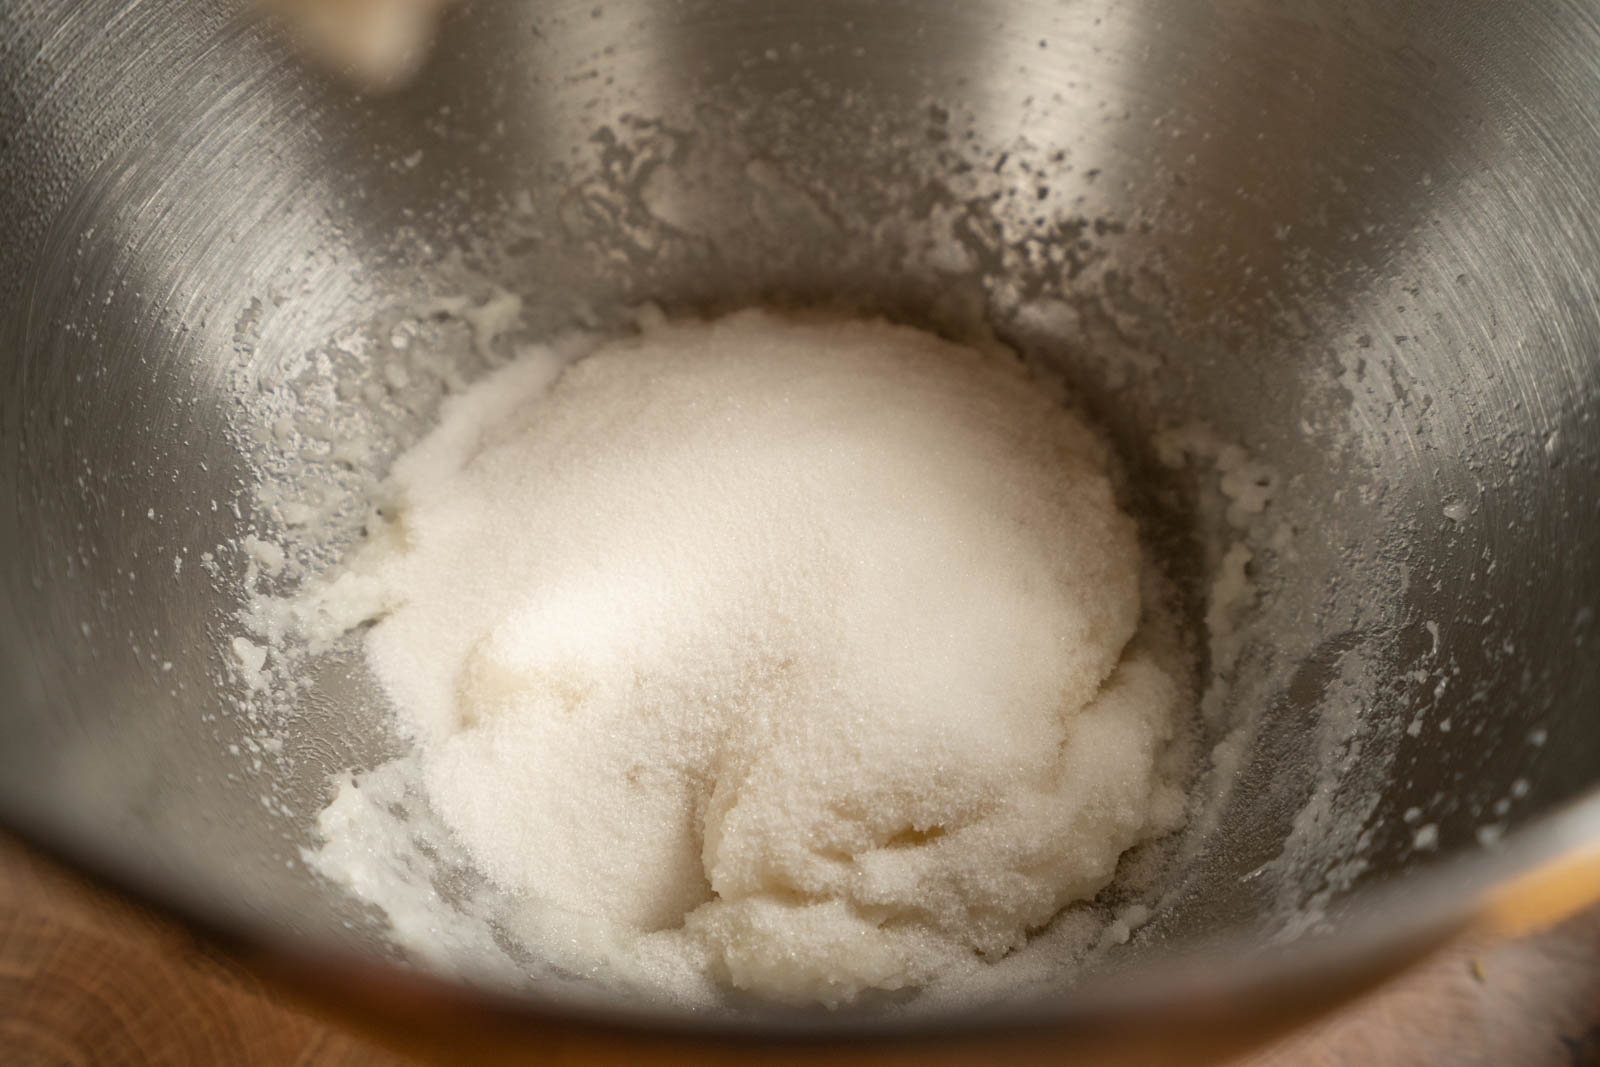
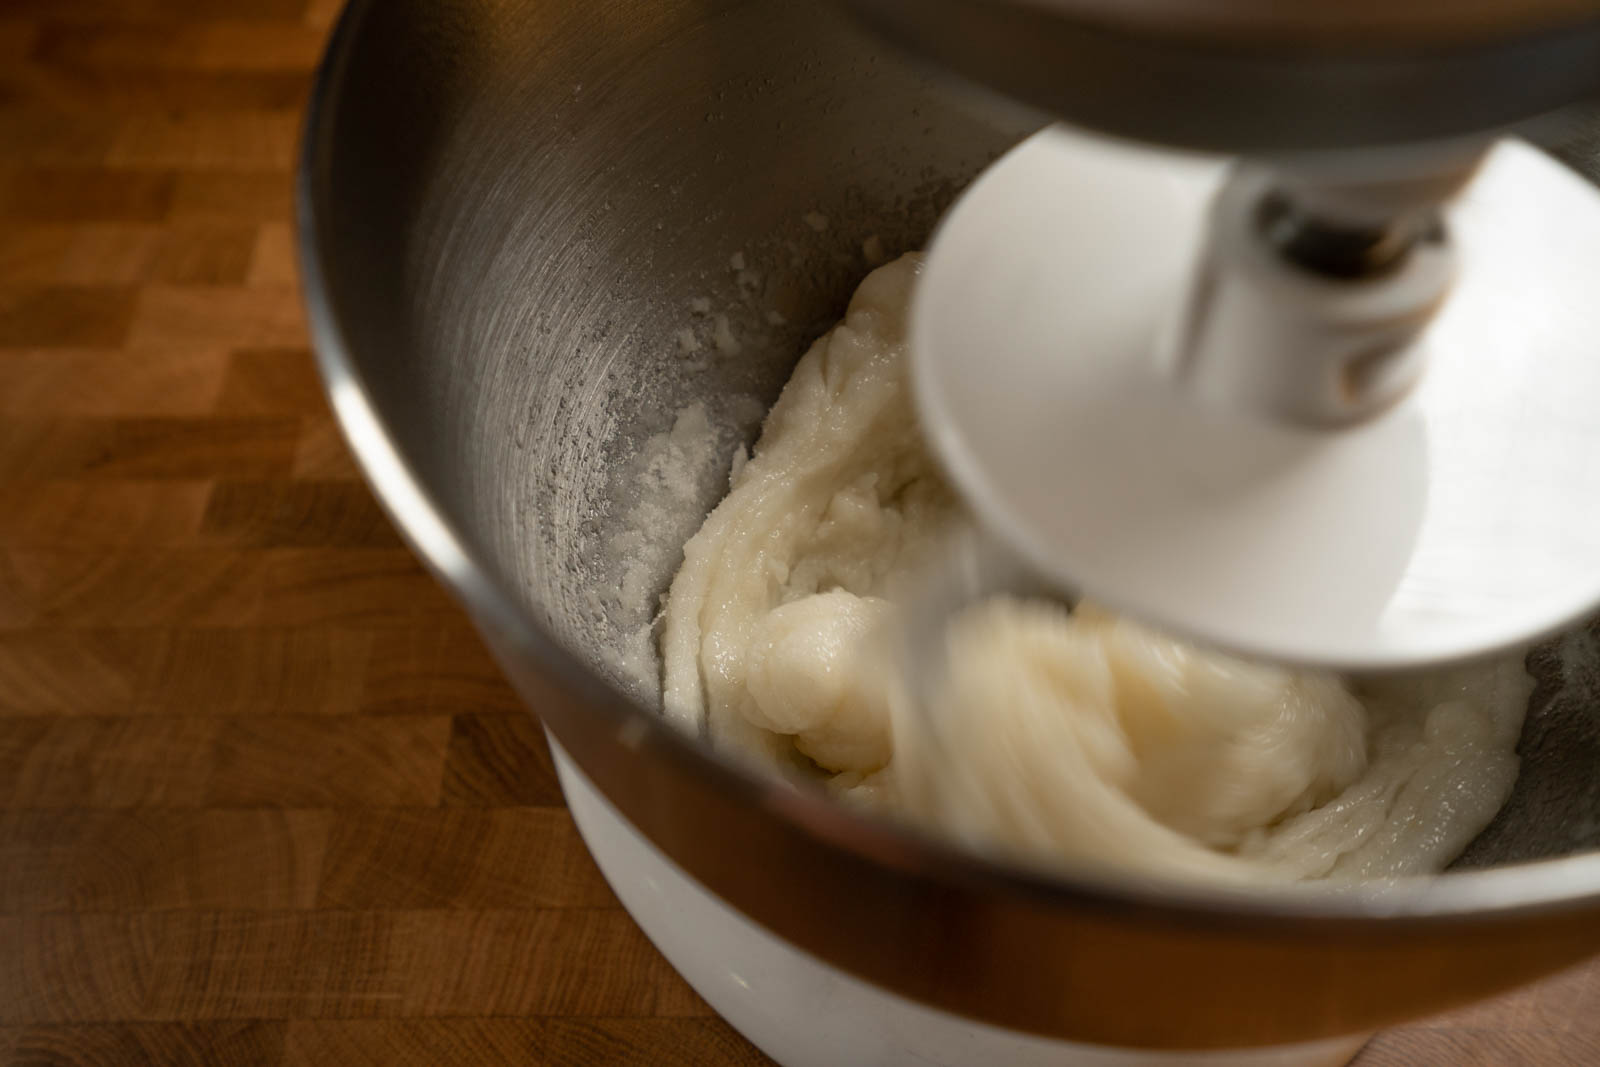
- Kneading Sequence: Using the Dough Hook, knead rice on your Number/power 2 Speed for 3 minutes at a time, then use your wet spatula to scrape down, mix, and flip over the rice. We’ll repeat this kneading process 4 times, for a total of 12 minutes. After the first kneading, add your sugar to the rice.
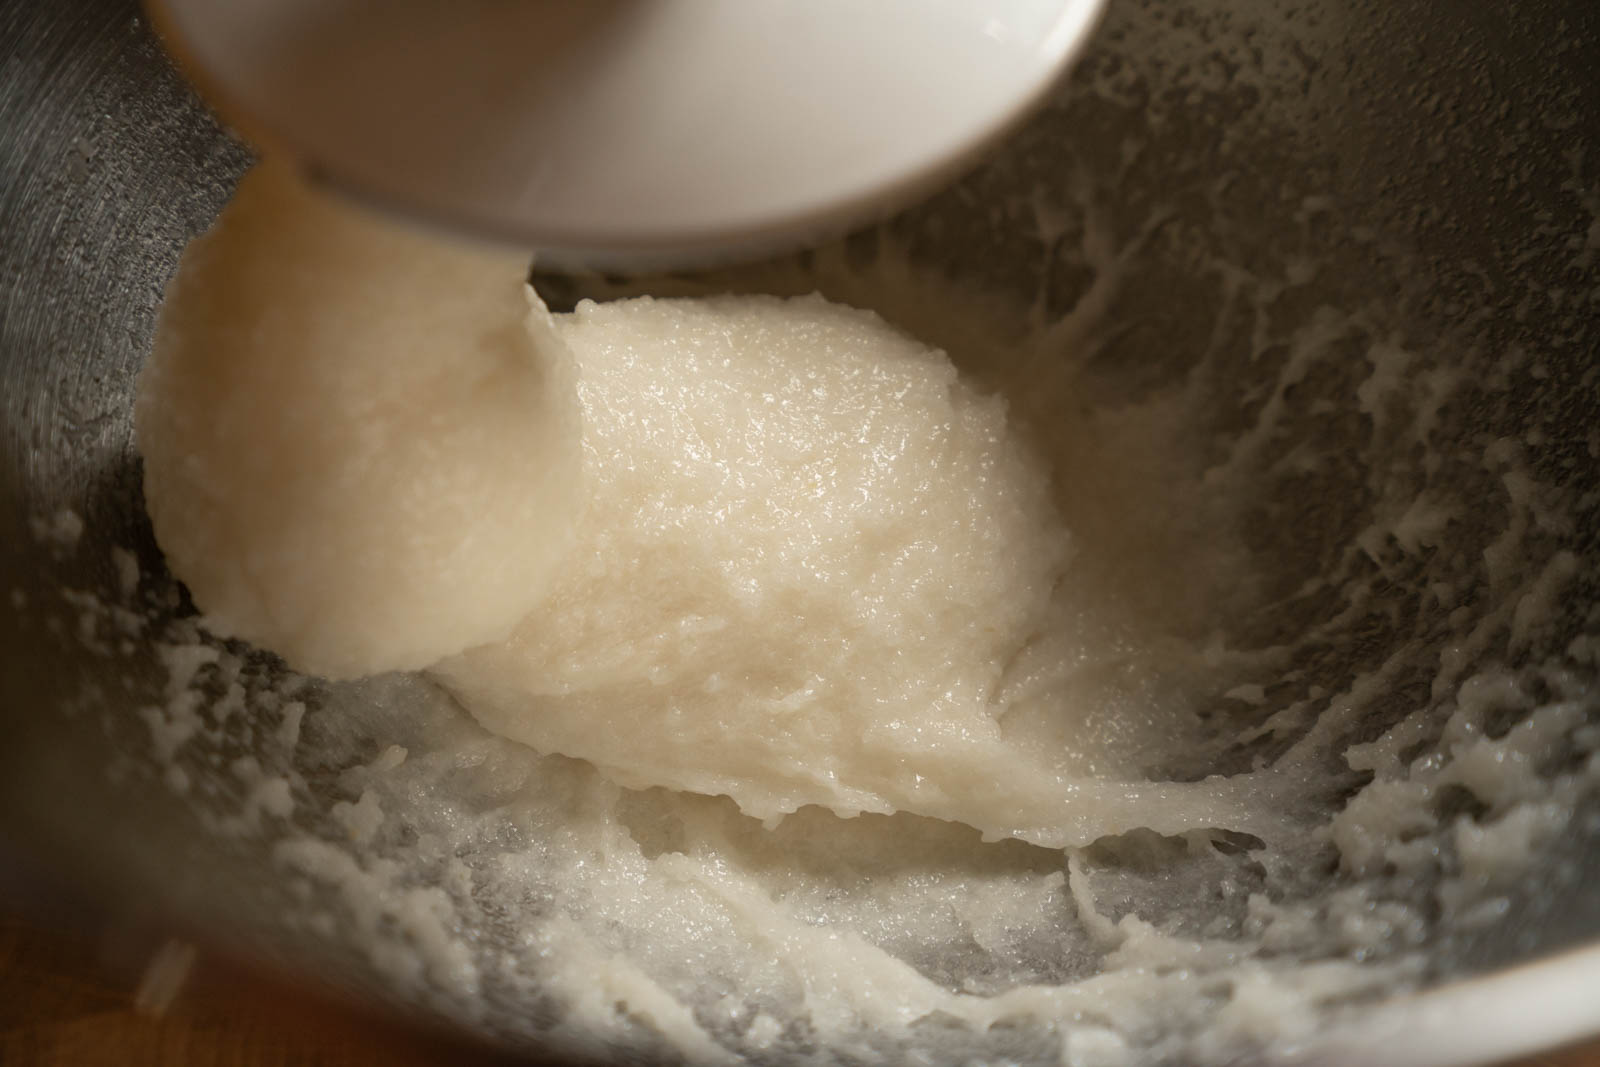
- After 12 minutes of kneading, the rice should be quite sticky and almost smooth. Scrape down the bowl and flip the rice over again. Swap out the dough hook for the paddle.
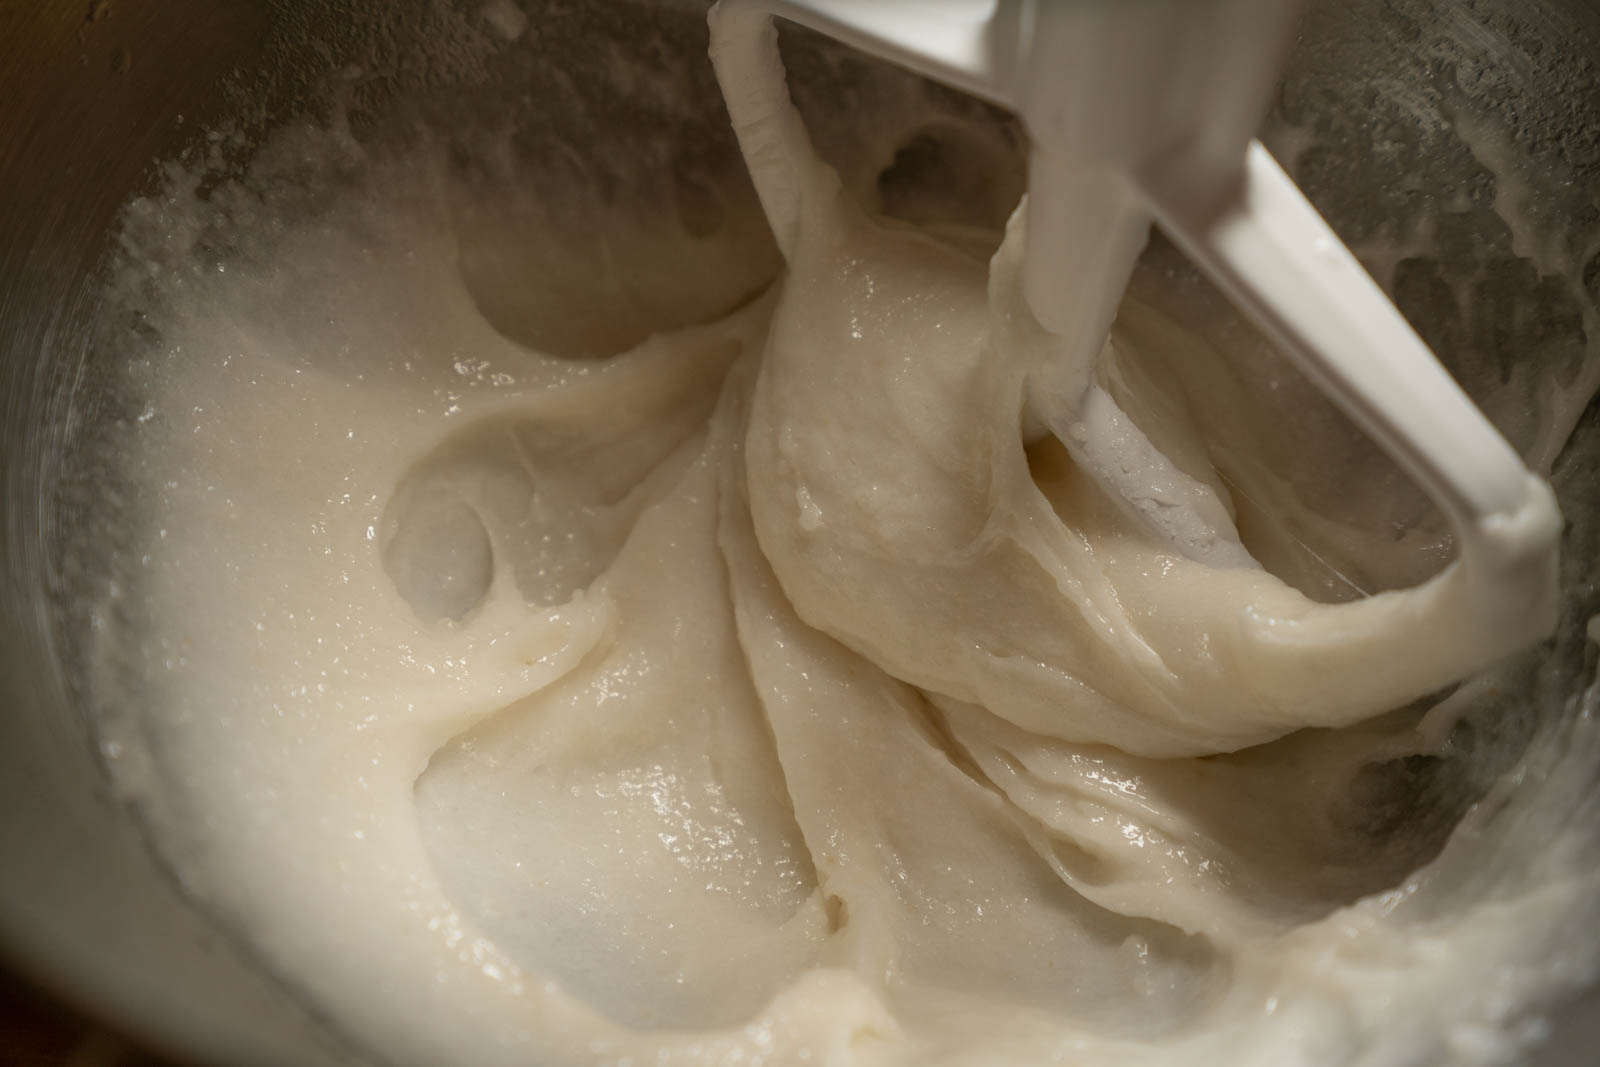
- Pounding Sequence: Using the Paddle, pound the rice at Number/power 3 Speed for 30 seconds at a time, scraping down the sides and flipping the rice after each interval. Again we’ll repeat the pounding process 4 times total. After a total of 2 minutes of pounding, it is ready to shape.
- After 2 minutes of pounding, the rice should be smooth, shiny, and runny enough to fall in thick ribbons.
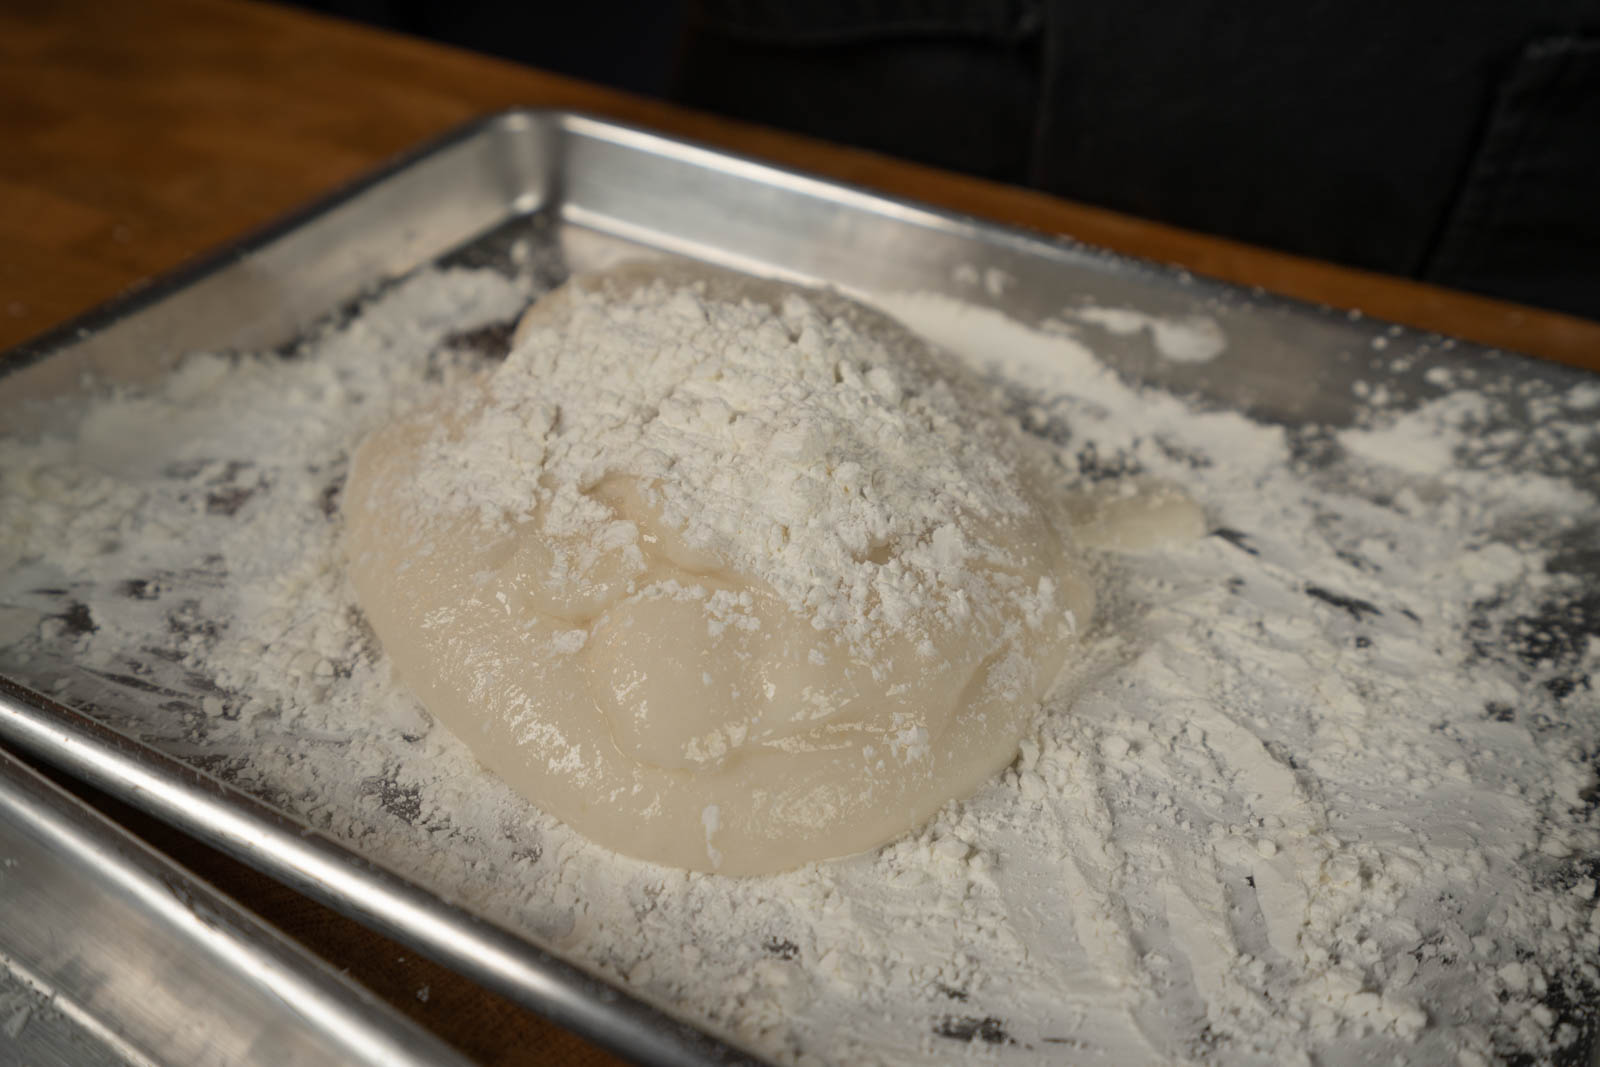
- Scrape mochi onto starched surface. With dry hands, starch the top of the mochi and your hands generously.
- Use your hands to flatten and spread out the mochi dough evenly.
- Pick up one corner of the mochi with your dominant hand and make a C shape with your other hand above this corner of mochi. Tuck the mochi up through the C fingers until it creates a ball, then pinch the C fingers and twist to pinch and “cut” the mochi ball separate from the rest of the dough. Try not to pull, as pulling creates more sticky surface area, which makes it difficult to work it. Set mochi ball to the side on the starched surface.
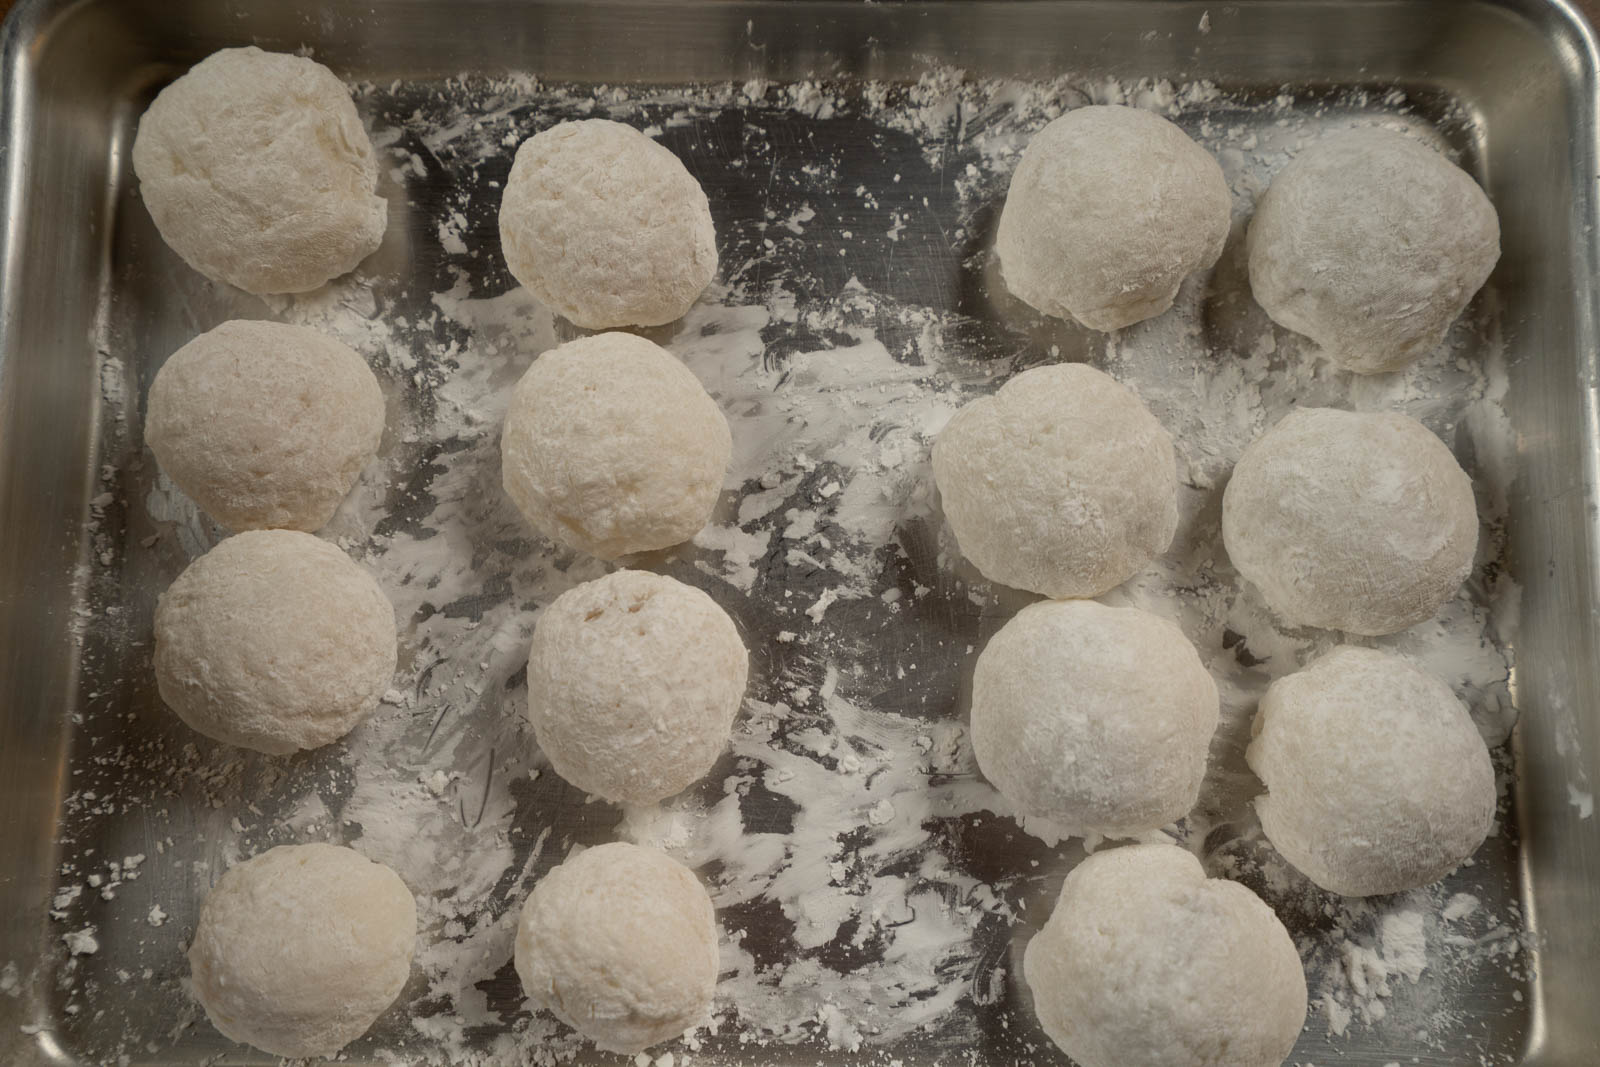
- Continue shaping mochi balls with the rest of the dough.
- When finished with dividing the mochi, you can begin filling them.
- To assemble your daifuku mochi, flatten a mochi ball and thin out the edges rather than the center. This will help keep your mochi more evenly distributed. Dust off the excess starch from the top side.
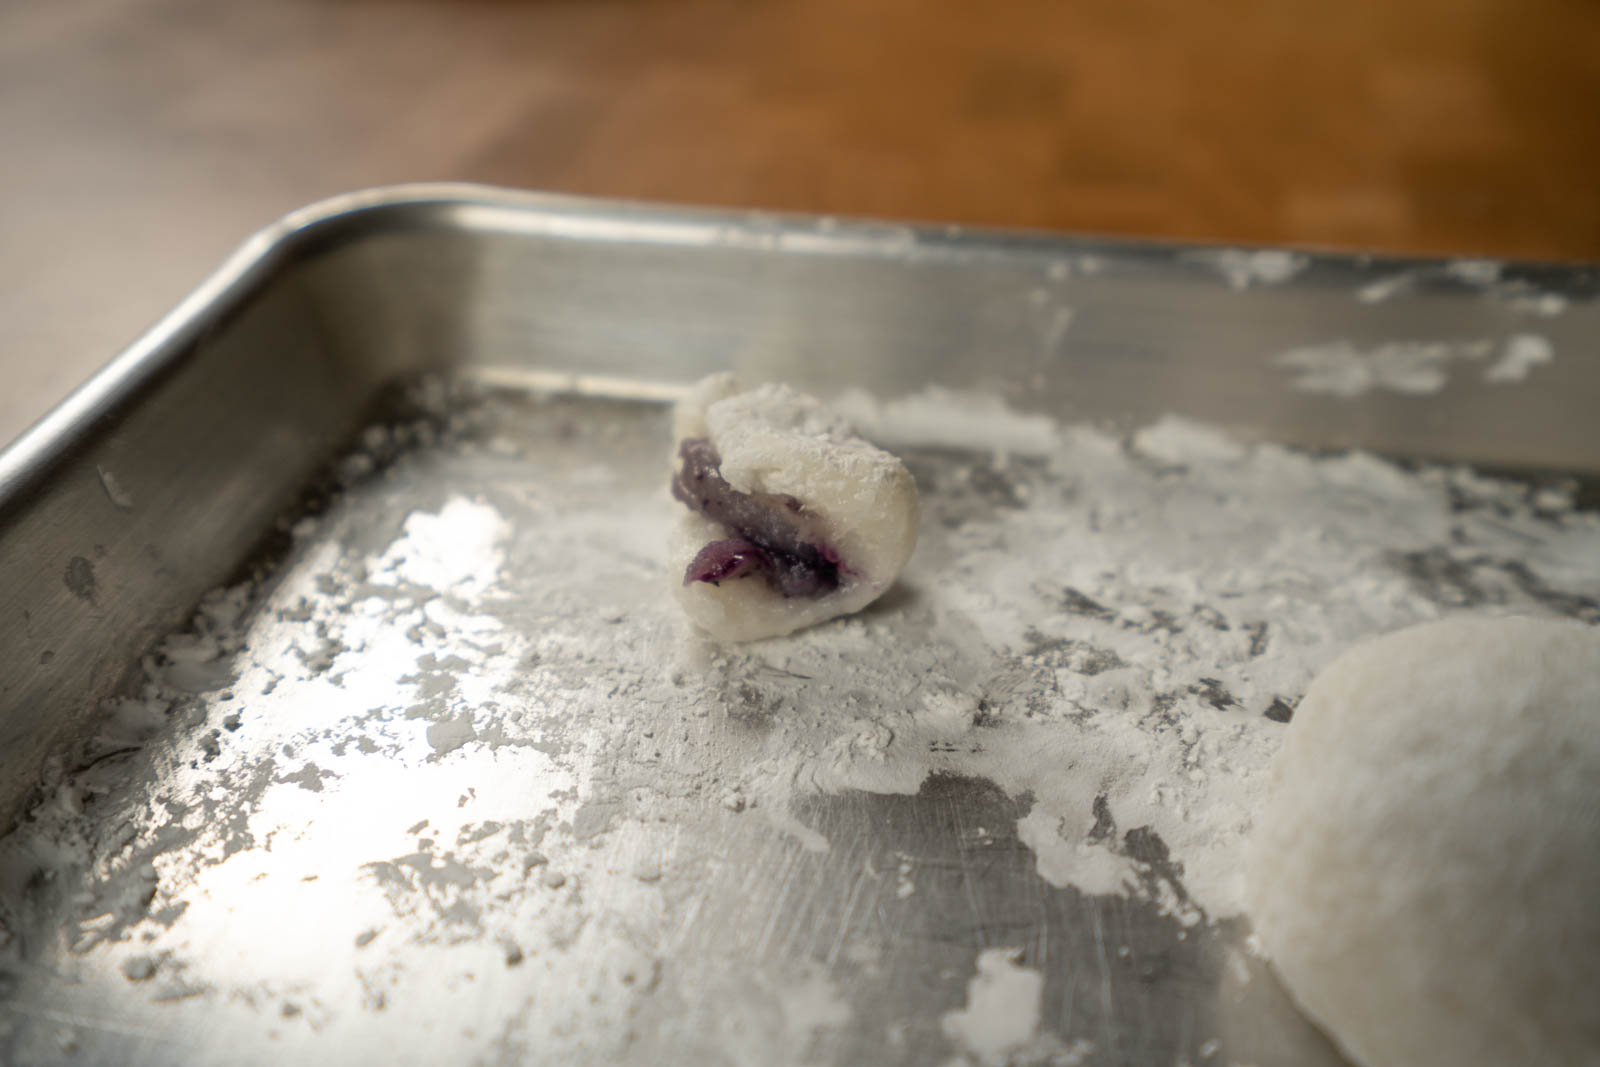
- Use chopsticks/tongs (keep your fingers dry) to place your frozen filling in the center and gently pull opposite sides up and over the filling. Pinch to seal the edges. Continue to gather and pinch the edges together all the way around the mochi until it is completely sealed. Dust with starch and flip over and gently reshape the mochi with your hands.
- Storage: Store in an airtight container in a cool place. Do not refrigerate unless you have to. Consume within 2-3 days, best on the first day.
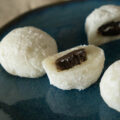
And that’s it! Hopefully you’ve found this recipe straightforward and it works for you, but again, experiment with the water and sugar levels to adjust the texture. Check out the photo gallery for references on the mochi texture we look for. If you have any questions or suggestions, please let us know in the comments below!

After first knead Add sugar 2nd knead with sugar Texture of mochi after kneading Texture of mochi after pounding Texture of mochi after pounding: Slightly runny, thick ribbons Mochi poured onto work surface Mochi dough balls Filled daifuku mochi Filled daifuku mochi daifuku mochi mochi texture


Tools Used To Make This Dish*
You can support our creations at no additional cost to you by using our affiliate links below. Much love!
Camera Gear List*
- Sony A7III
- Sony A7rIII
- Sony SEL2470GM Lens
- Sony SEL90M28G FE 90mm f/2.8-22
- Deity V-Mic D3
- Audio-Technica AT4040 Cardioid Condenser Microphone
- Blue Compass Premium Tube-Style Broadcast Boom Arm
- Sirui ET Series Tripod
- White Balance Card
*I am a participant in the Amazon Services LLC Associates Program, an affiliate advertising program designed to provide a means for us to earn fees by linking to to Amazon.com and affiliated sites.