
overview
Ok, so after tons of precious wasted rice trying to tweak the recipe for the Tiger machine, we’ve run out and come to a conclusion. But first, lemme walk ya through what happened. The very first time we tested the original recipe that comes in the machine manual, but we found that the texture was super chewy, almost so chewy that it felt dense like tasteless thick taffy in your mouth. The mochi also never got completely smooth, so the assembled daifuku mochi would look lumpy and almost grainy, even if we “sprinkled water on it at towards the end of pounding” as instructed. Even while working with it, the mochi would start to harden right away. We would have to re-steam it in the microwave just so we could finish working with it.
By the way, the smallest quantity listed on the recipe was 5 cups of rice. And while you can certainly freeze any unused mochi for other cooked mochi dishes like ozoni, our goal is to make the best daifuku mochi at home, so we couldn’t use the frozen stuff for it at a later time.

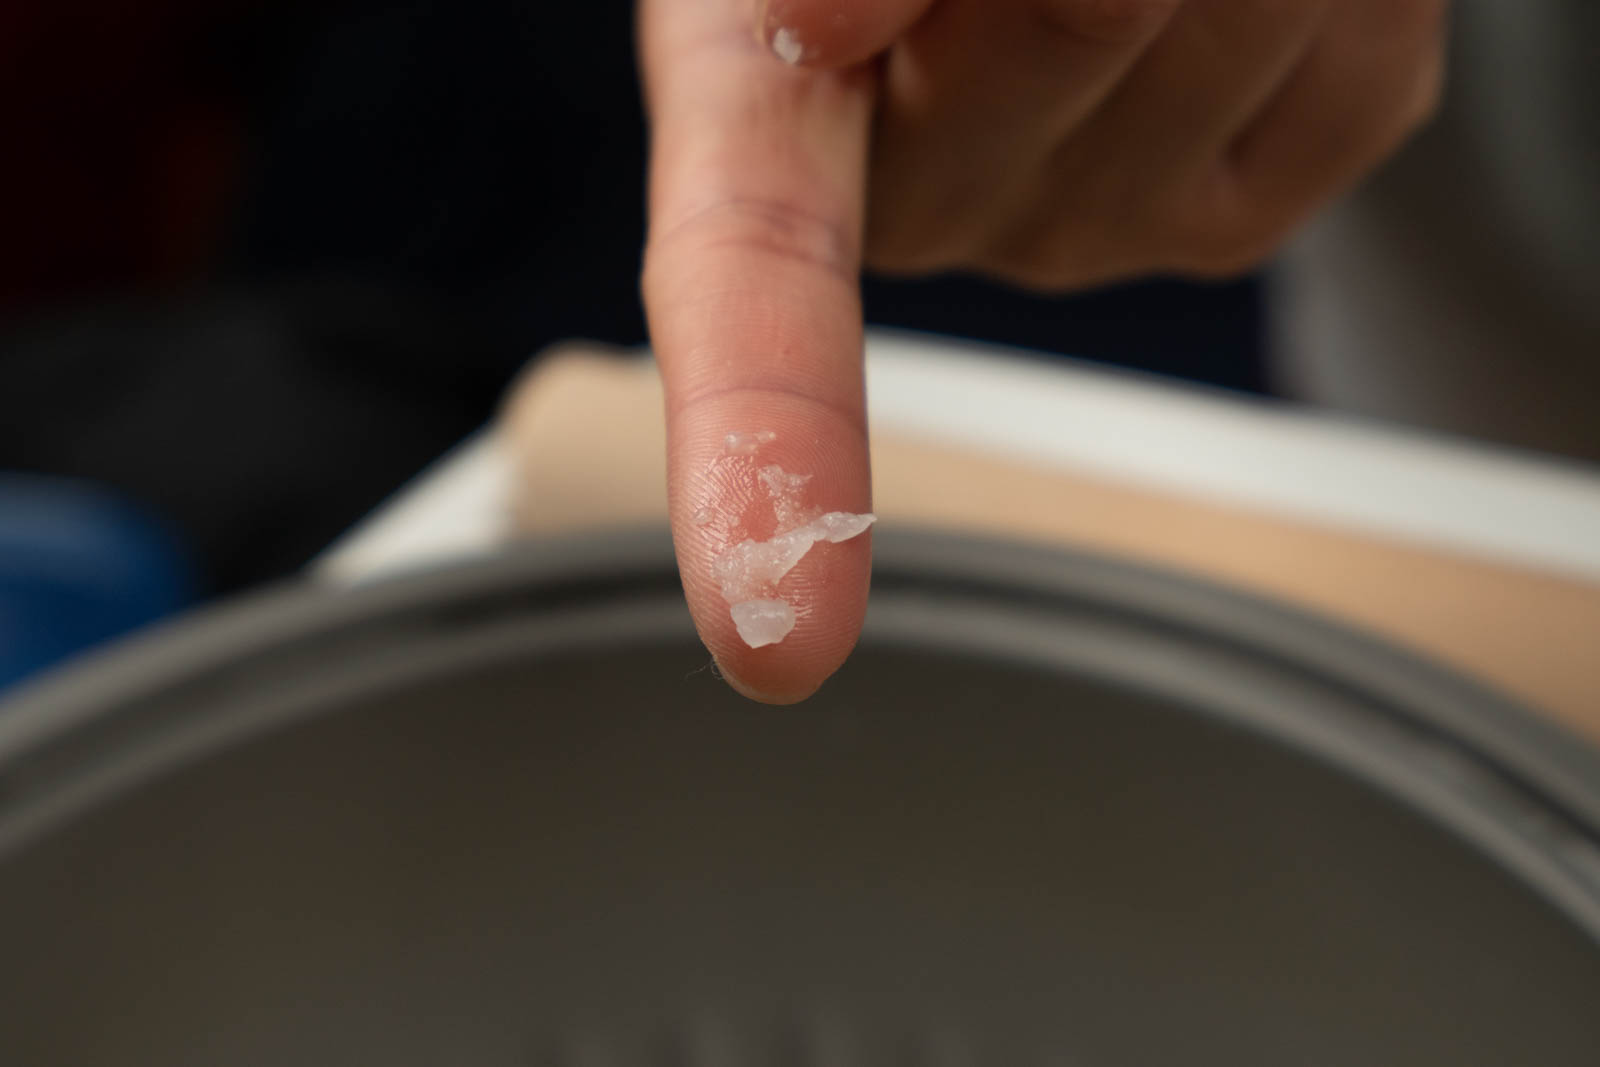
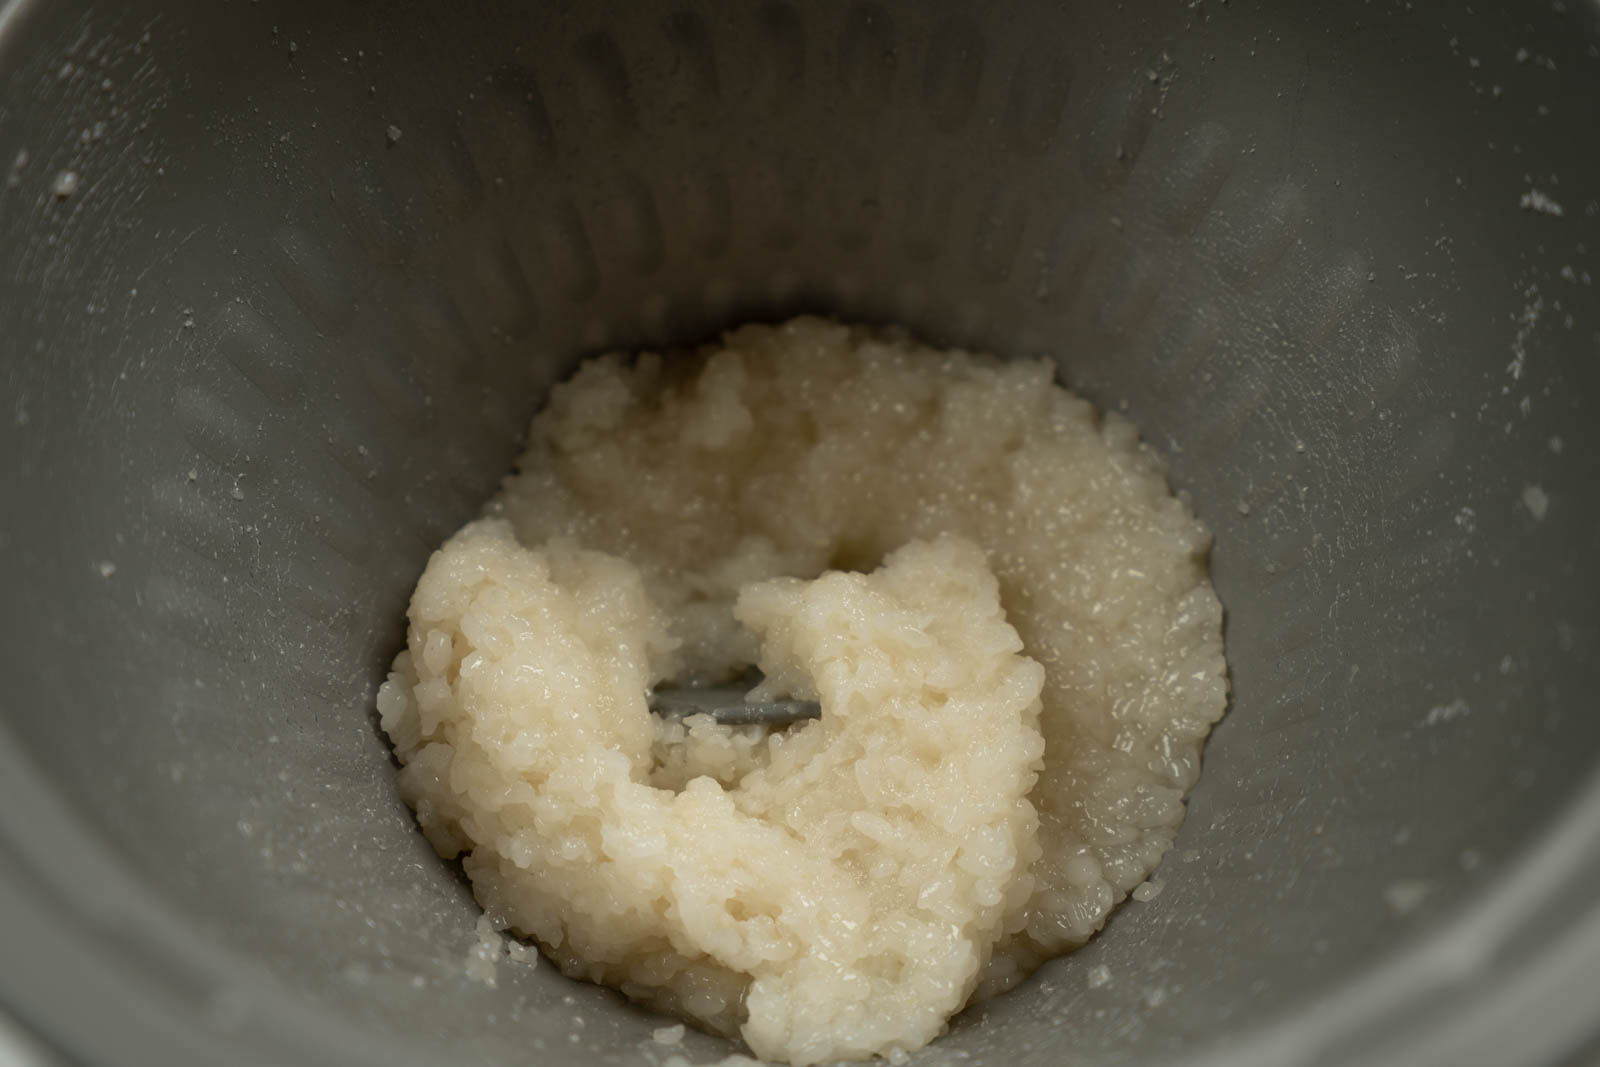
So we tested shrinking the recipe down and found that a more manageable amount of rice is 2 rice cups, or around 300-320g. If you go any lower, the machine won’t really be able to pound it properly. But it wasn’t a simple scale. When we followed the ratio from the manual the steamed rice came out undercooked and we had to try steaming it again. Based on our experimentation with the Stand Mixer recipe, we figured out that the cooked rice needs to be soft and wet enough to mush between your fingers. Otherwise, you’re sure to have a lumpy finish. This led us to using 2.5 cups of water to our 2 cups of rice – which is the amount of water that the original recipe assigns to 10 cups of rice, the maximum quantity that would fit in the machine. This finally gave us rice that was steamed soft enough to smush with our fingers.
Another component is the pounding time and their suggested “sprinkling of water” during the latter part of pounding. The instructions tell you not to pound more than 10 minutes, but we found that we needed to pound closer to 15 minutes in order to start seeing a smoother texture. We also tried sprinkling hot water throughout the pounding process.
Finally, we also tried adding sugar, our handy softening & shelf-life extending ingredient. We based the amount of sugar from our Stand Mixer experiment which gave us 67g, and it does help the mochi last a full 2 days before hardening. However, it didn’t seem to soften the mochi as much as we expected.
So that’s where we’ve ended up and this is our recipe so far – which makes really chewy, kinda dense, snappy mochi that stays soft enough for about 2 days. If you don’t have a machine but still want to make mochi at home, you can check out our KitchenAid stand mixer mochi here.
Tiger Mochi Recipe v2
Total Cook Time: About 1.5 hours
Have everything set up and ready to go, once the rice is steamed, you cannot stop the process.
Materials
- Tiger Mochi Maker Machine
- Kitchen towel/Mittens
- Bowl for soaking rice
- Strainer for draining rice
- Cupcake liners (optional)
Ingredients
- 320g (2C) of sweet rice (mochigome)
- 410g (2.5C) water (use the same measuring cup used for rice)
- 67g white sugar
- potato starch/cornstarch (for dusting)
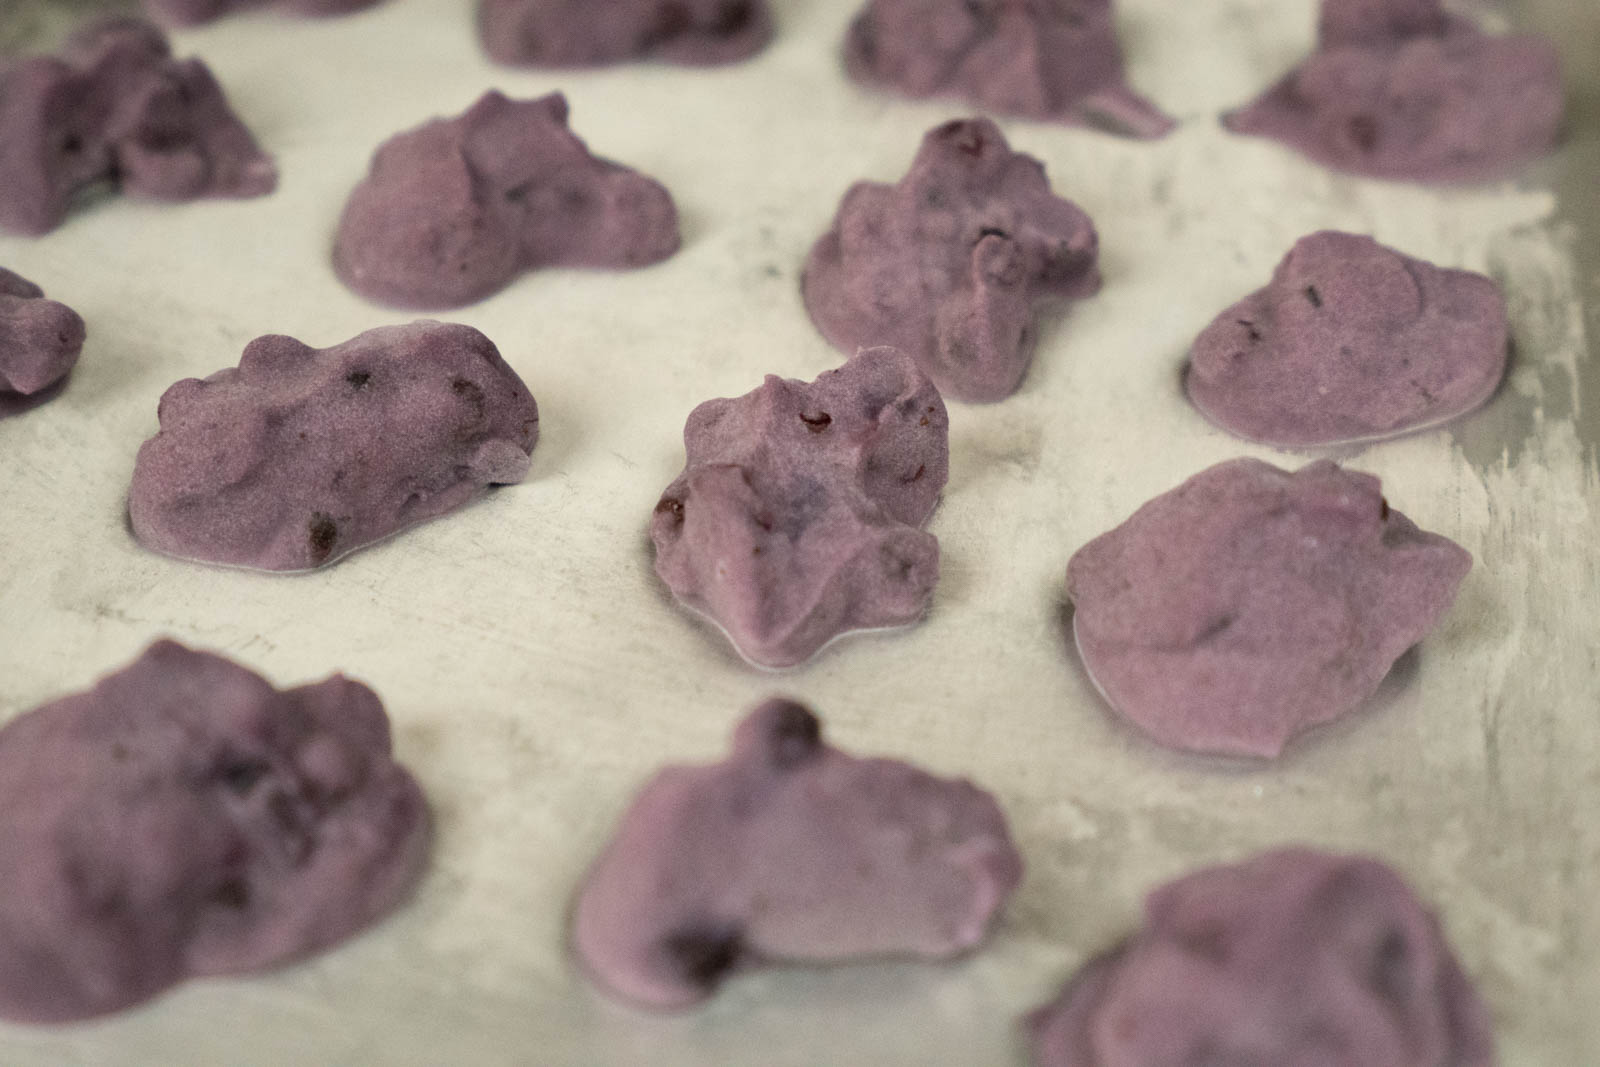
- Filling: we used shiro-an mixed with some wild blueberries.
How to Make Mochi Guide
- Wash rice until the water runs clear.
- Soak rice for 6-12 hours, we soaked ours for 12. Do not soak it for over 24 hours or anywhere cold where the water might freeze.
- Prep any fillings and cupcake liners or whatever you choose to keep your finished mochi in.
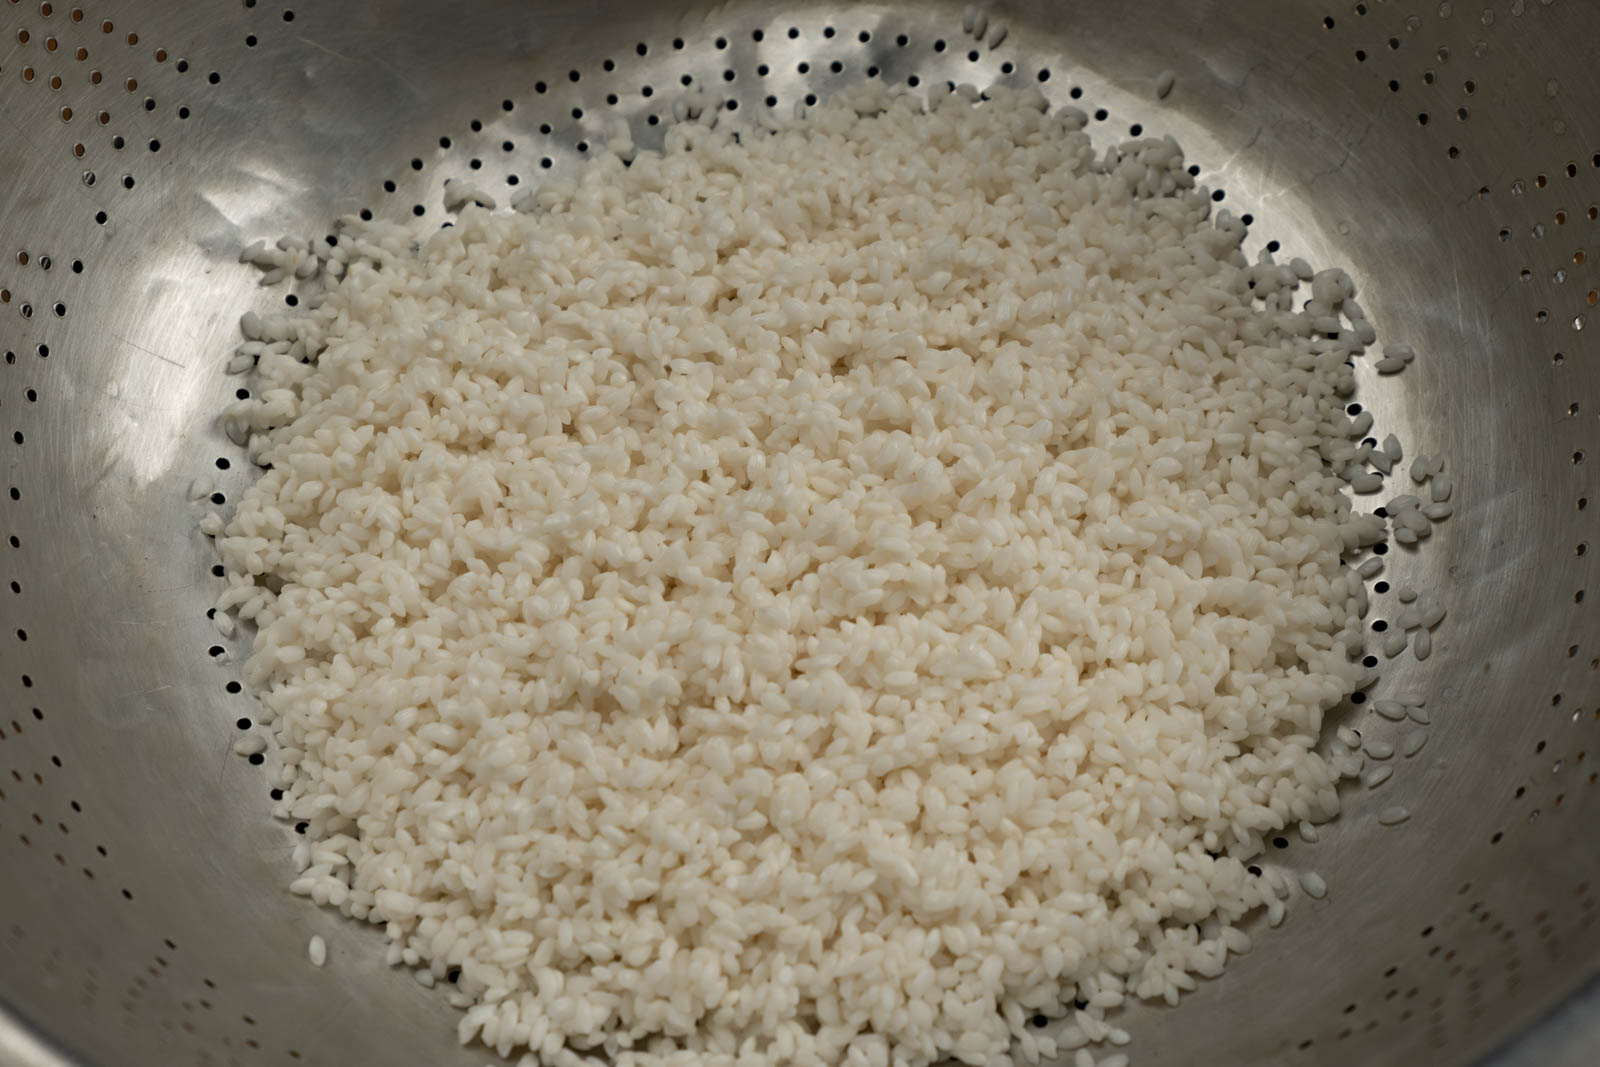
- After soaking, drain your rice fully, suggested time: 30 minutes.
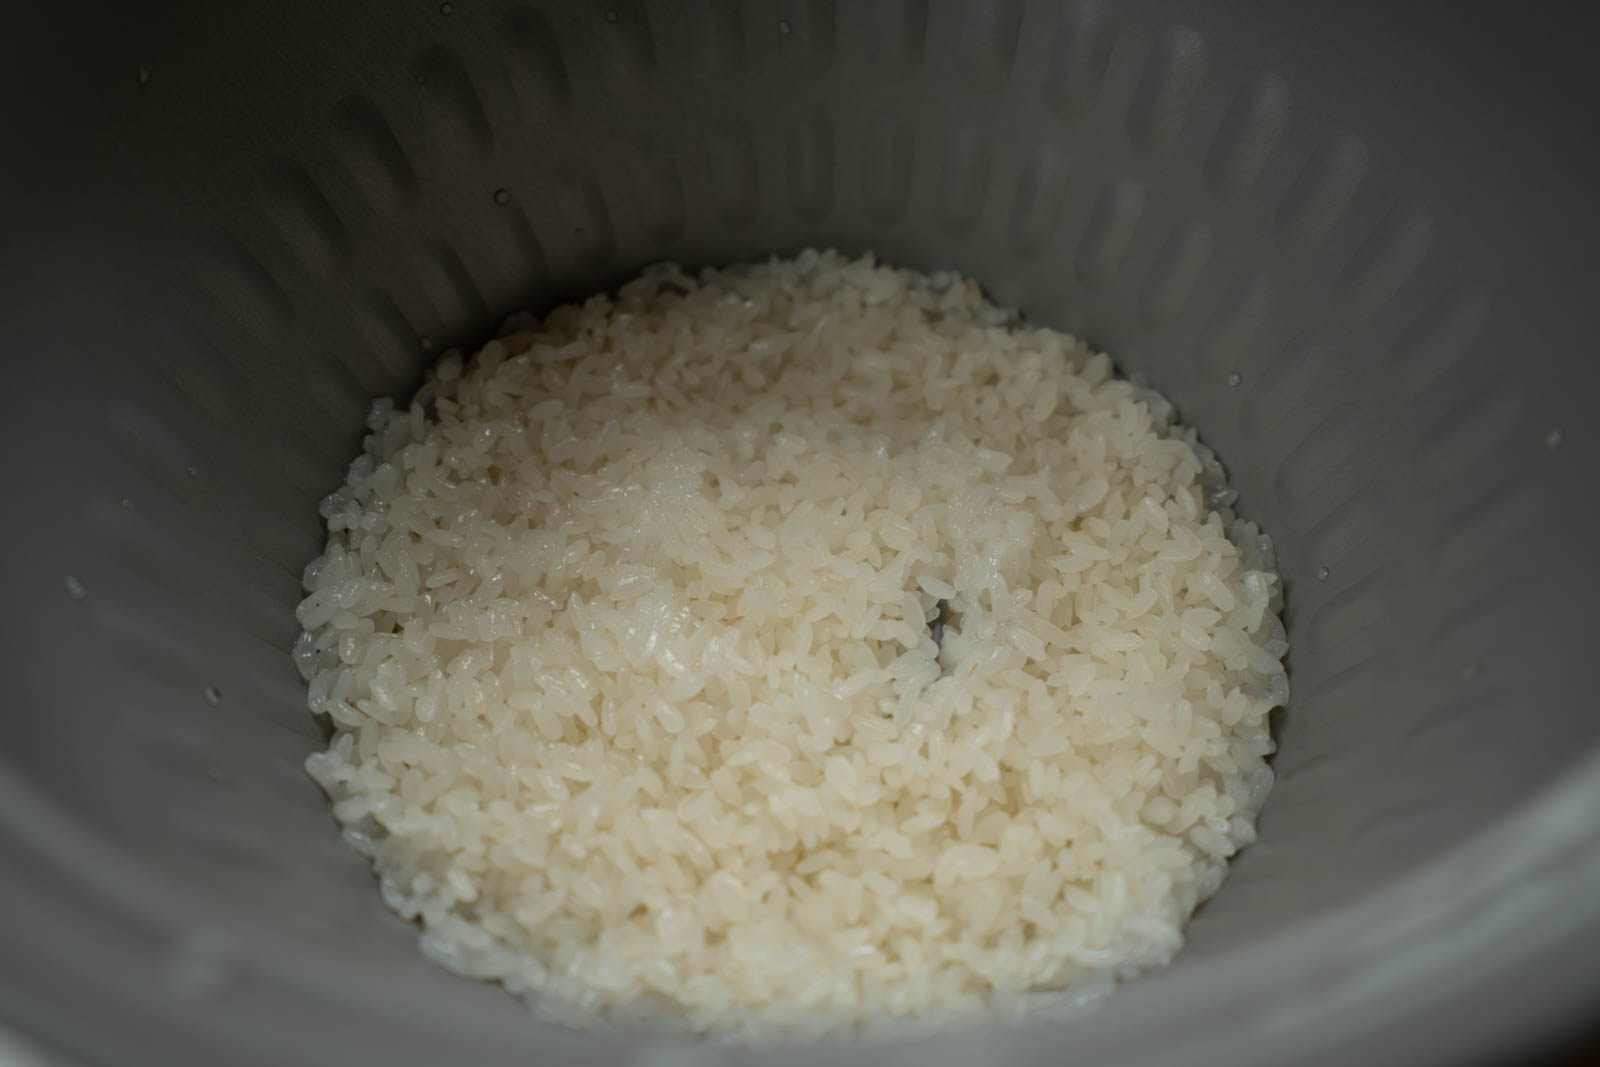
- Steam the rice: pour the water into the machine. Mount the inner container and lock into place. Place the impeller onto the motor shaft. Pour the rice in and gently level it out without compressing any of the rice. Place the cover on and then press the steam button. Steaming took us about 35 minutes. Warning: the buzzer will be really loud.
- Pound the rice: As soon as the rice is finished cooking, carefully remove the lid (which may be hot) and press the pound button. Pound for 1 minute and then stop. Sprinkle your sugar and a little hot water over the rice. Fold in the sugar gently. Then keep lid handy as some of the rice will fly out in the beginning. Once the mochi starts to come together (around 4 min), things will calm down. You may have to use a rice scooper/paddle to keep the rice down to maintain contact with the impeller. Keep an eye out on the texture. You can sprinkle hot water occasionally to help soften and smooth out the texture. We sprinkled water (literally some droplets of water) several times.
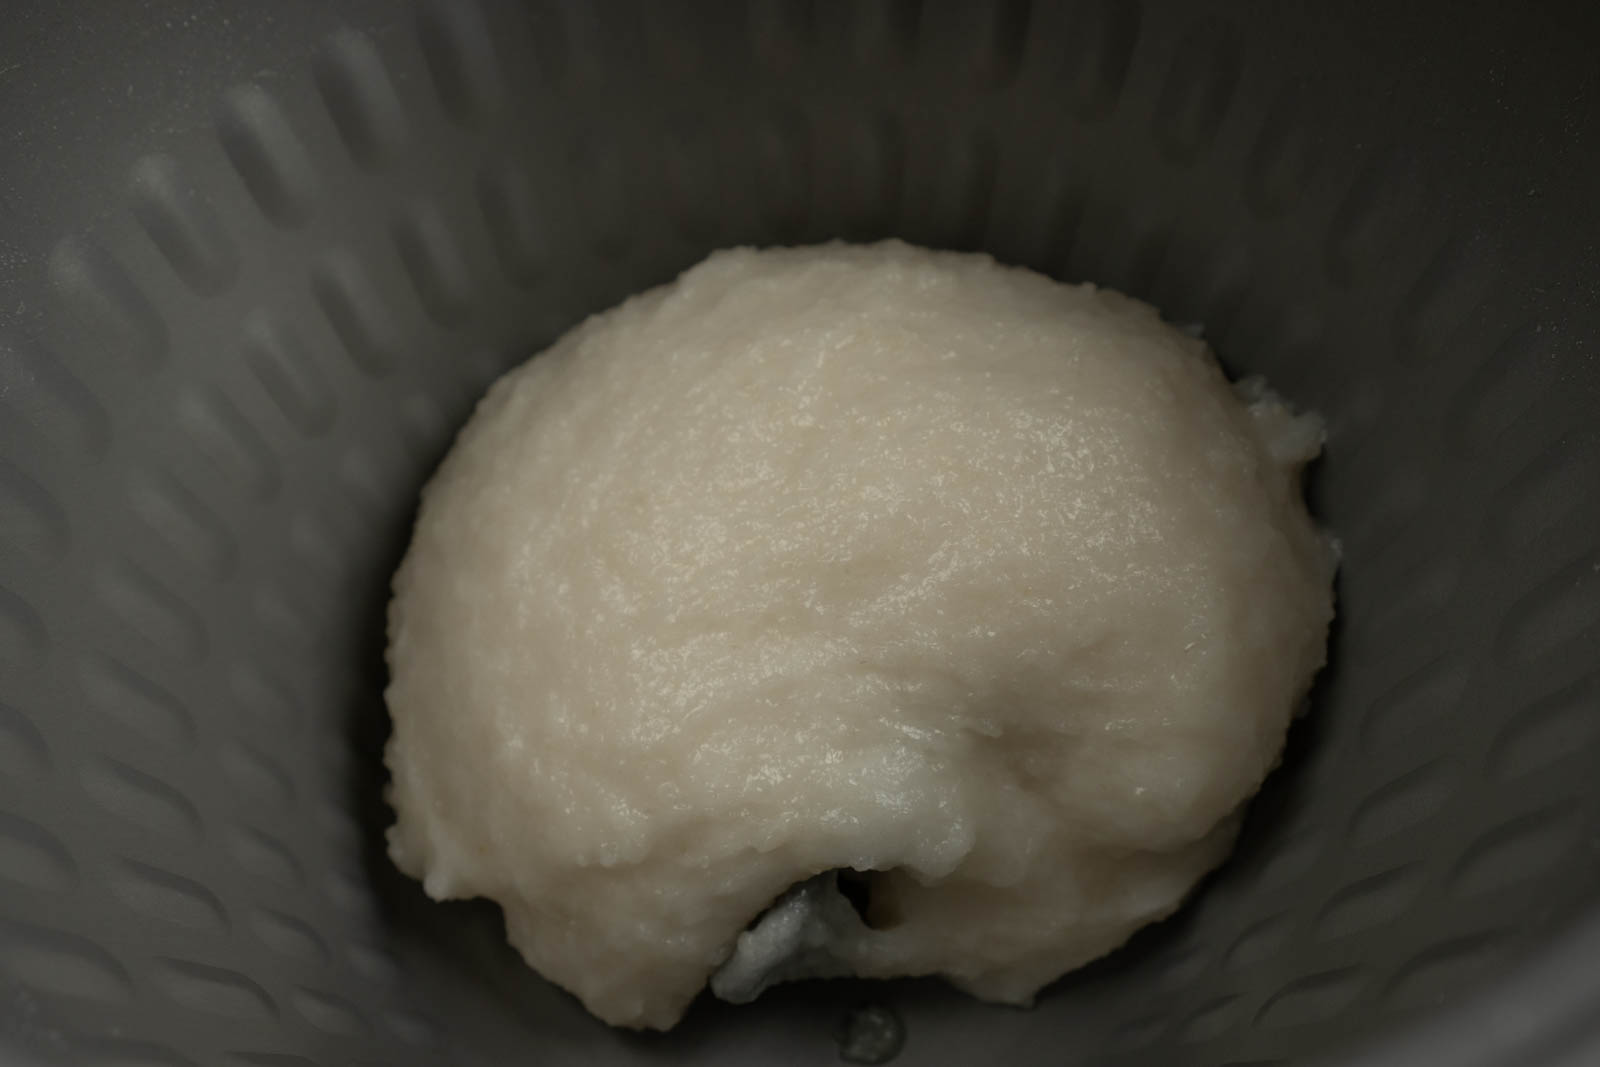
- When the mochi has come together and looks smooth (around 15 minutes), it should be done. Press off and carefully remove the hot inner container. Turn over the container on a dusted surface and allow a few moments for the mochi to come away from the container on its own.
- Carefully remove the impeller from the mochi.
- Lightly starch the top of the mochi. You won’t need as much starch as you would when using rice flour as this mochi doesn’t become as sticky.
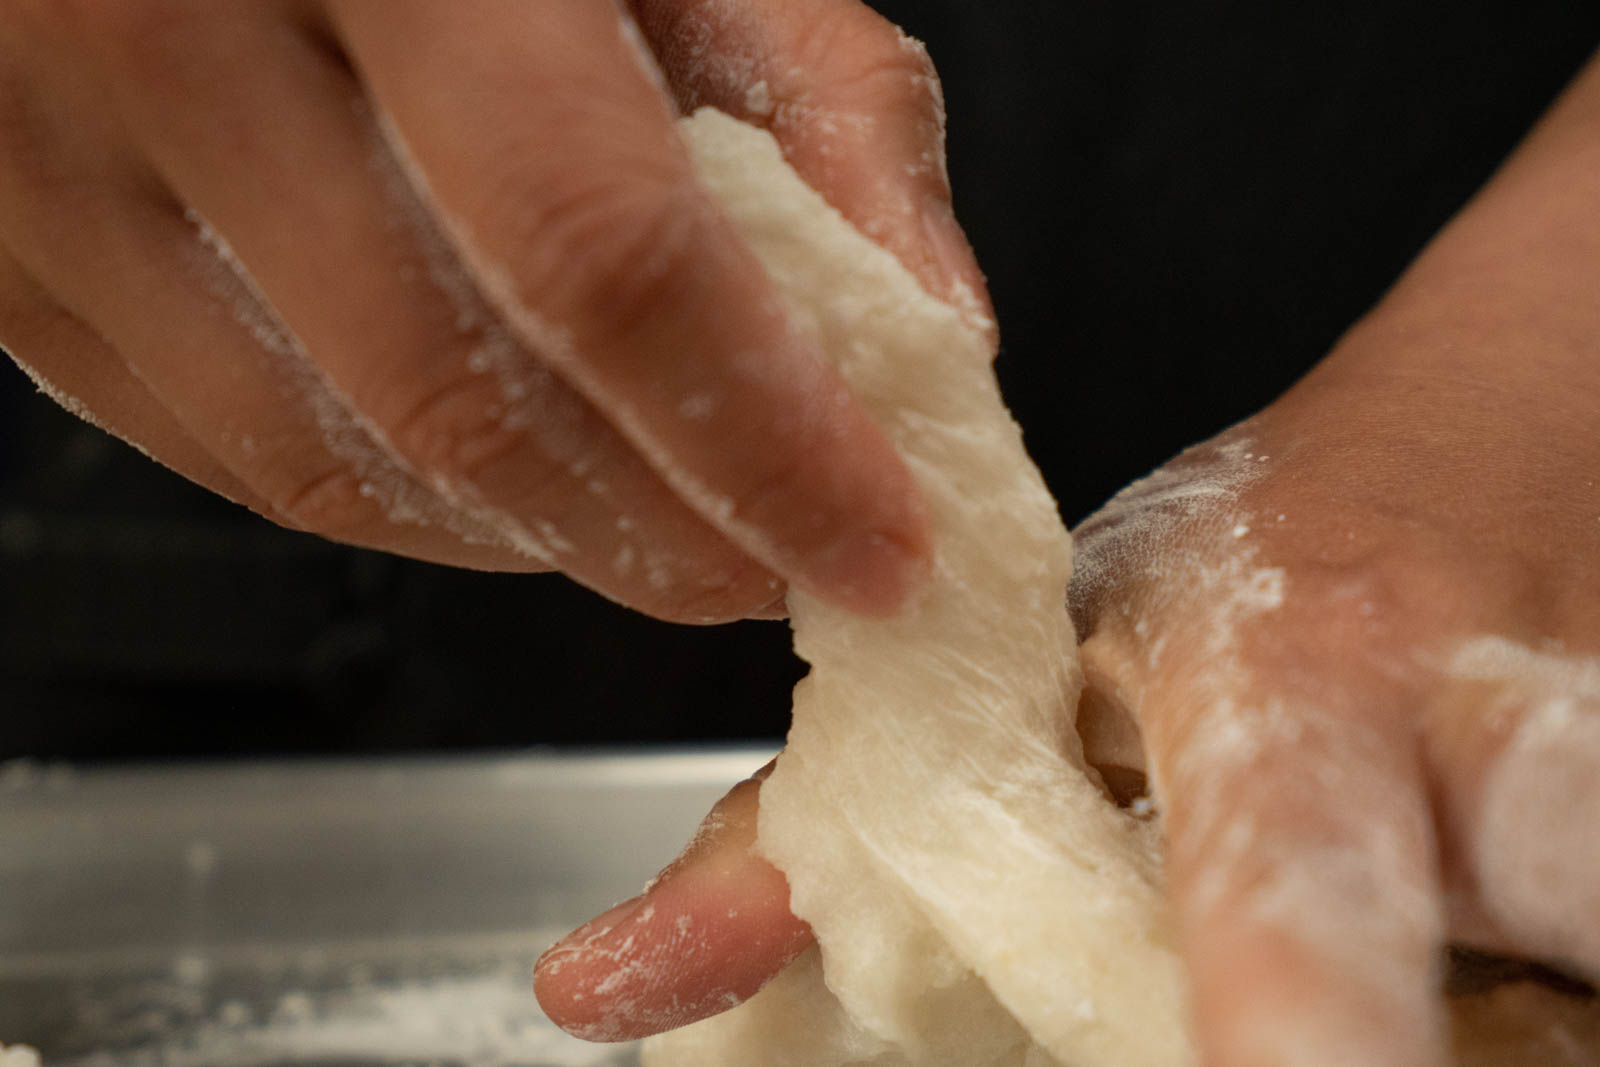
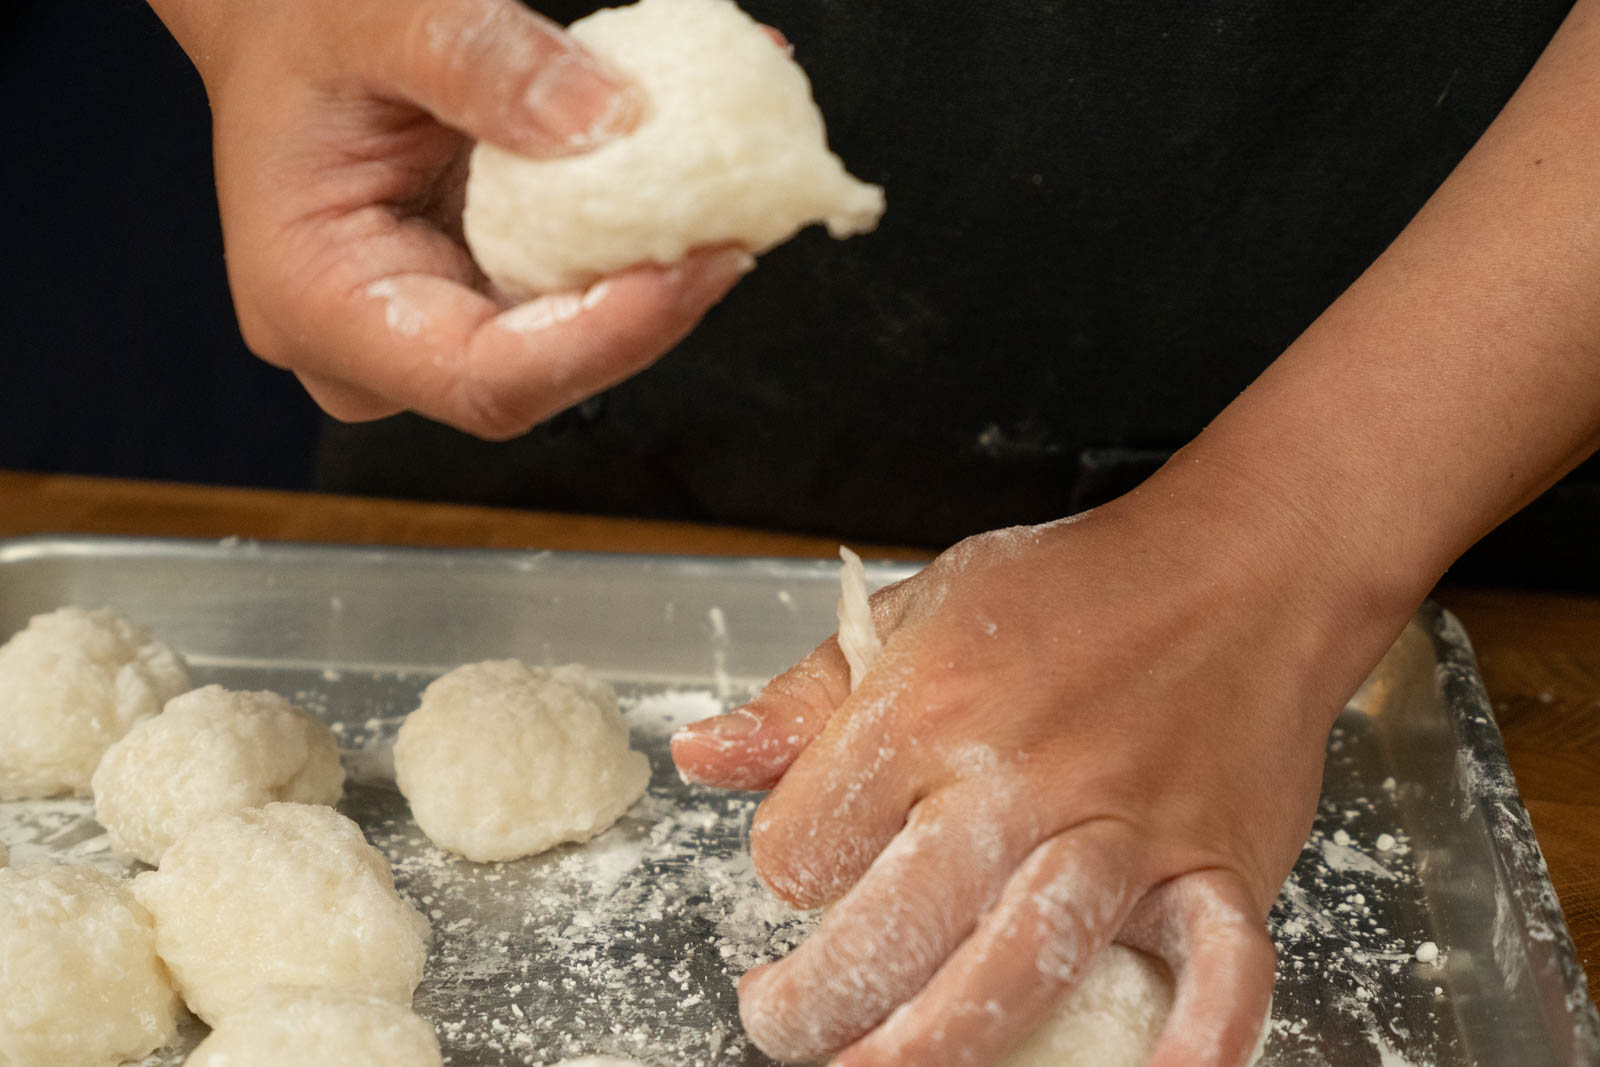
- Piece out your mochi. If you’re new to mochi making, check out the step by step on our Part 4 Guide.
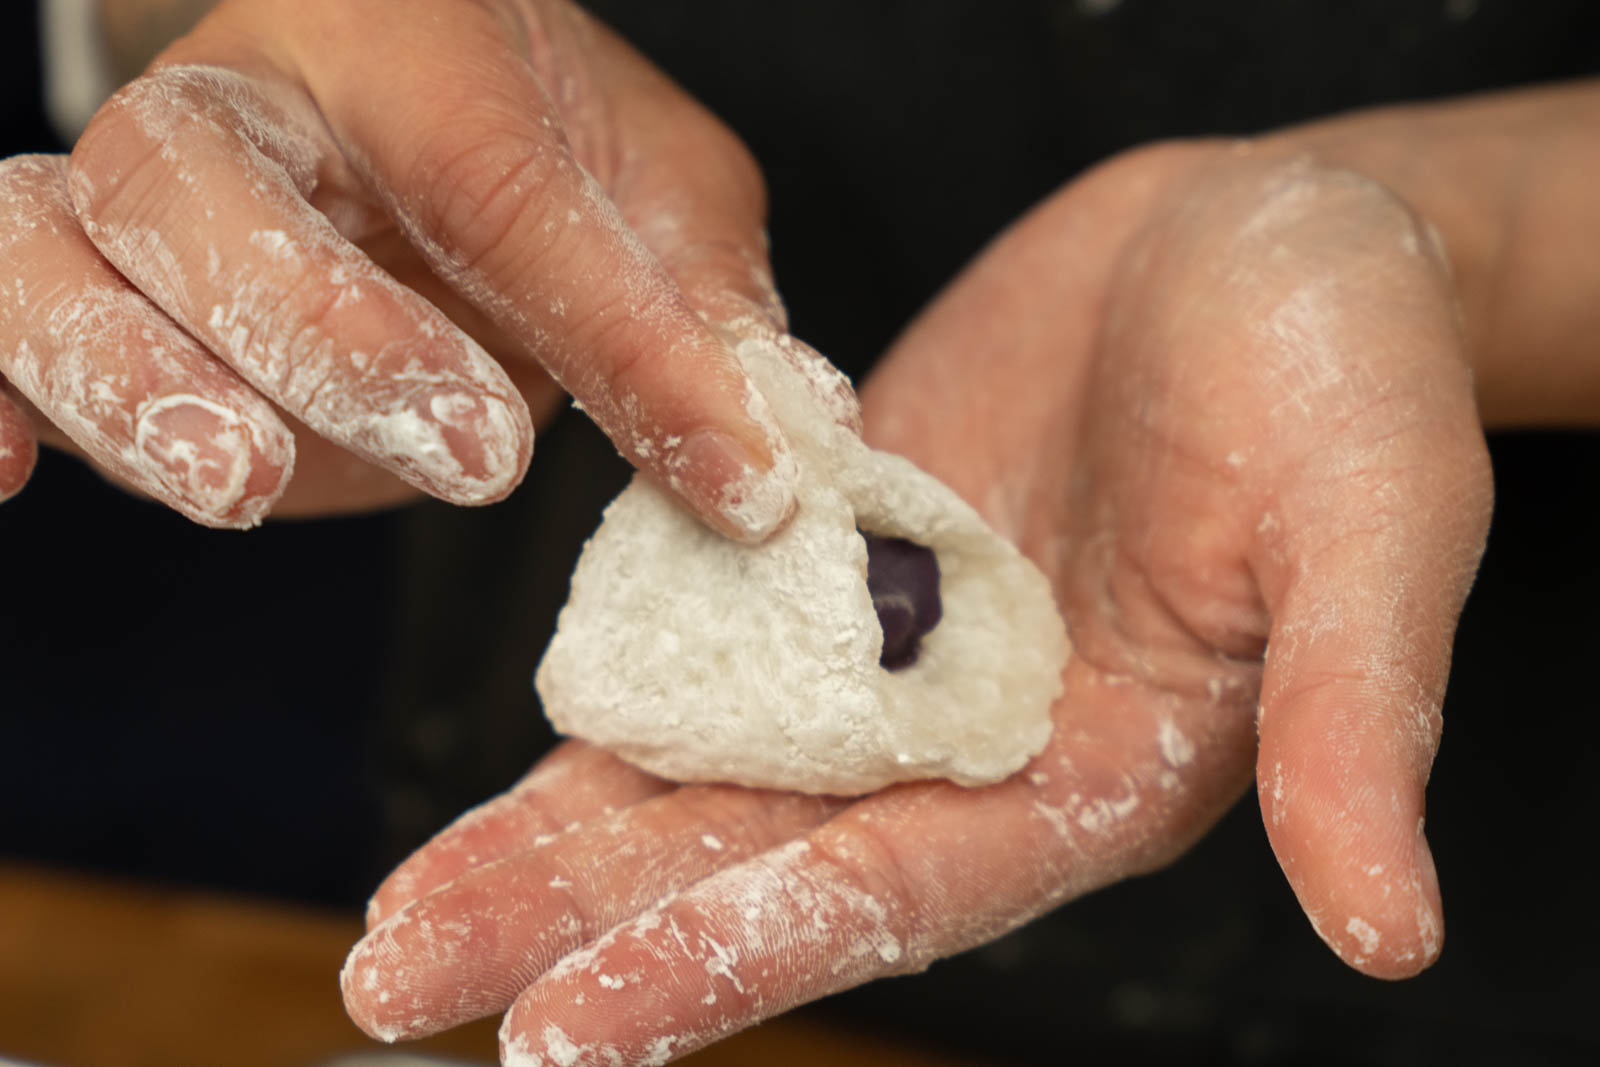
- When you’ve finished creating your mochi rounds/pieces, you can start to assemble your daifuku mochi.
- If the mochi begins to cool and is no longer sticky while you’re working it, you can microwave a few pieces at a time for 5-15 seconds.
Step by Step Photos

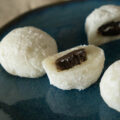
Wash, soak, and drained rice Soaked (left) and raw (right) rice Tip: Freeze your pre-scooped filling Pour soaked rice into machine, gently level rice Steam rice Steamed rice Steamed rice should smush between fingers Add sugar to pounding mochi Finished texture of mochi Piece out mochi: gather in one hand, twisting Use other hand to squeeze and cut off mochi piece Detaching mochi Detaching mochi Assembling daifuku mochi: place filling in center Bring opposite ends together, pinch to seal Repeat all the way around mochi Repeat all the way around mochi Turn over and reshape, dust with starch Finished mochi


Tools Used To Make This Dish*
You can support our experiments at no additional cost to you by using our affiliate links below. Much love!
Camera Gear List*
- Sony A7III
- Sony A7rIII
- Sony SEL2470GM Lens
- Sony SEL90M28G FE 90mm f/2.8-22
- Deity V-Mic D3
- Audio-Technica AT4040 Cardioid Condenser Microphone
- Blue Compass Premium Tube-Style Broadcast Boom Arm
- Sirui ET Series Tripod
- White Balance Card
*We are participants in the Amazon Services LLC Associates Program, an affiliate advertising program designed to provide a means for us to earn fees by linking to to Amazon.com and affiliated sites.


Hello, just came across your recipe, thanks for sharing. This is a fairly old post and I’m not sure if this blog is still active so fingers crossed I get a reply. If I want to cook 5-10C of rice, do you suggest I follow the original recipe or always use 2.5C of water no matter what? I’m not making daifuku mochi and plan to use the mochi itself as filling so I don’t need the same texture for wrapping either!
Thanks for your question! If you’re not trying to make daifuku mochi, then I would stick to the original recipe and start your testing from there. We used more water because we wanted a softer and stretchier texture. Good luck!